Catégories du blog
 Cernit tutorials
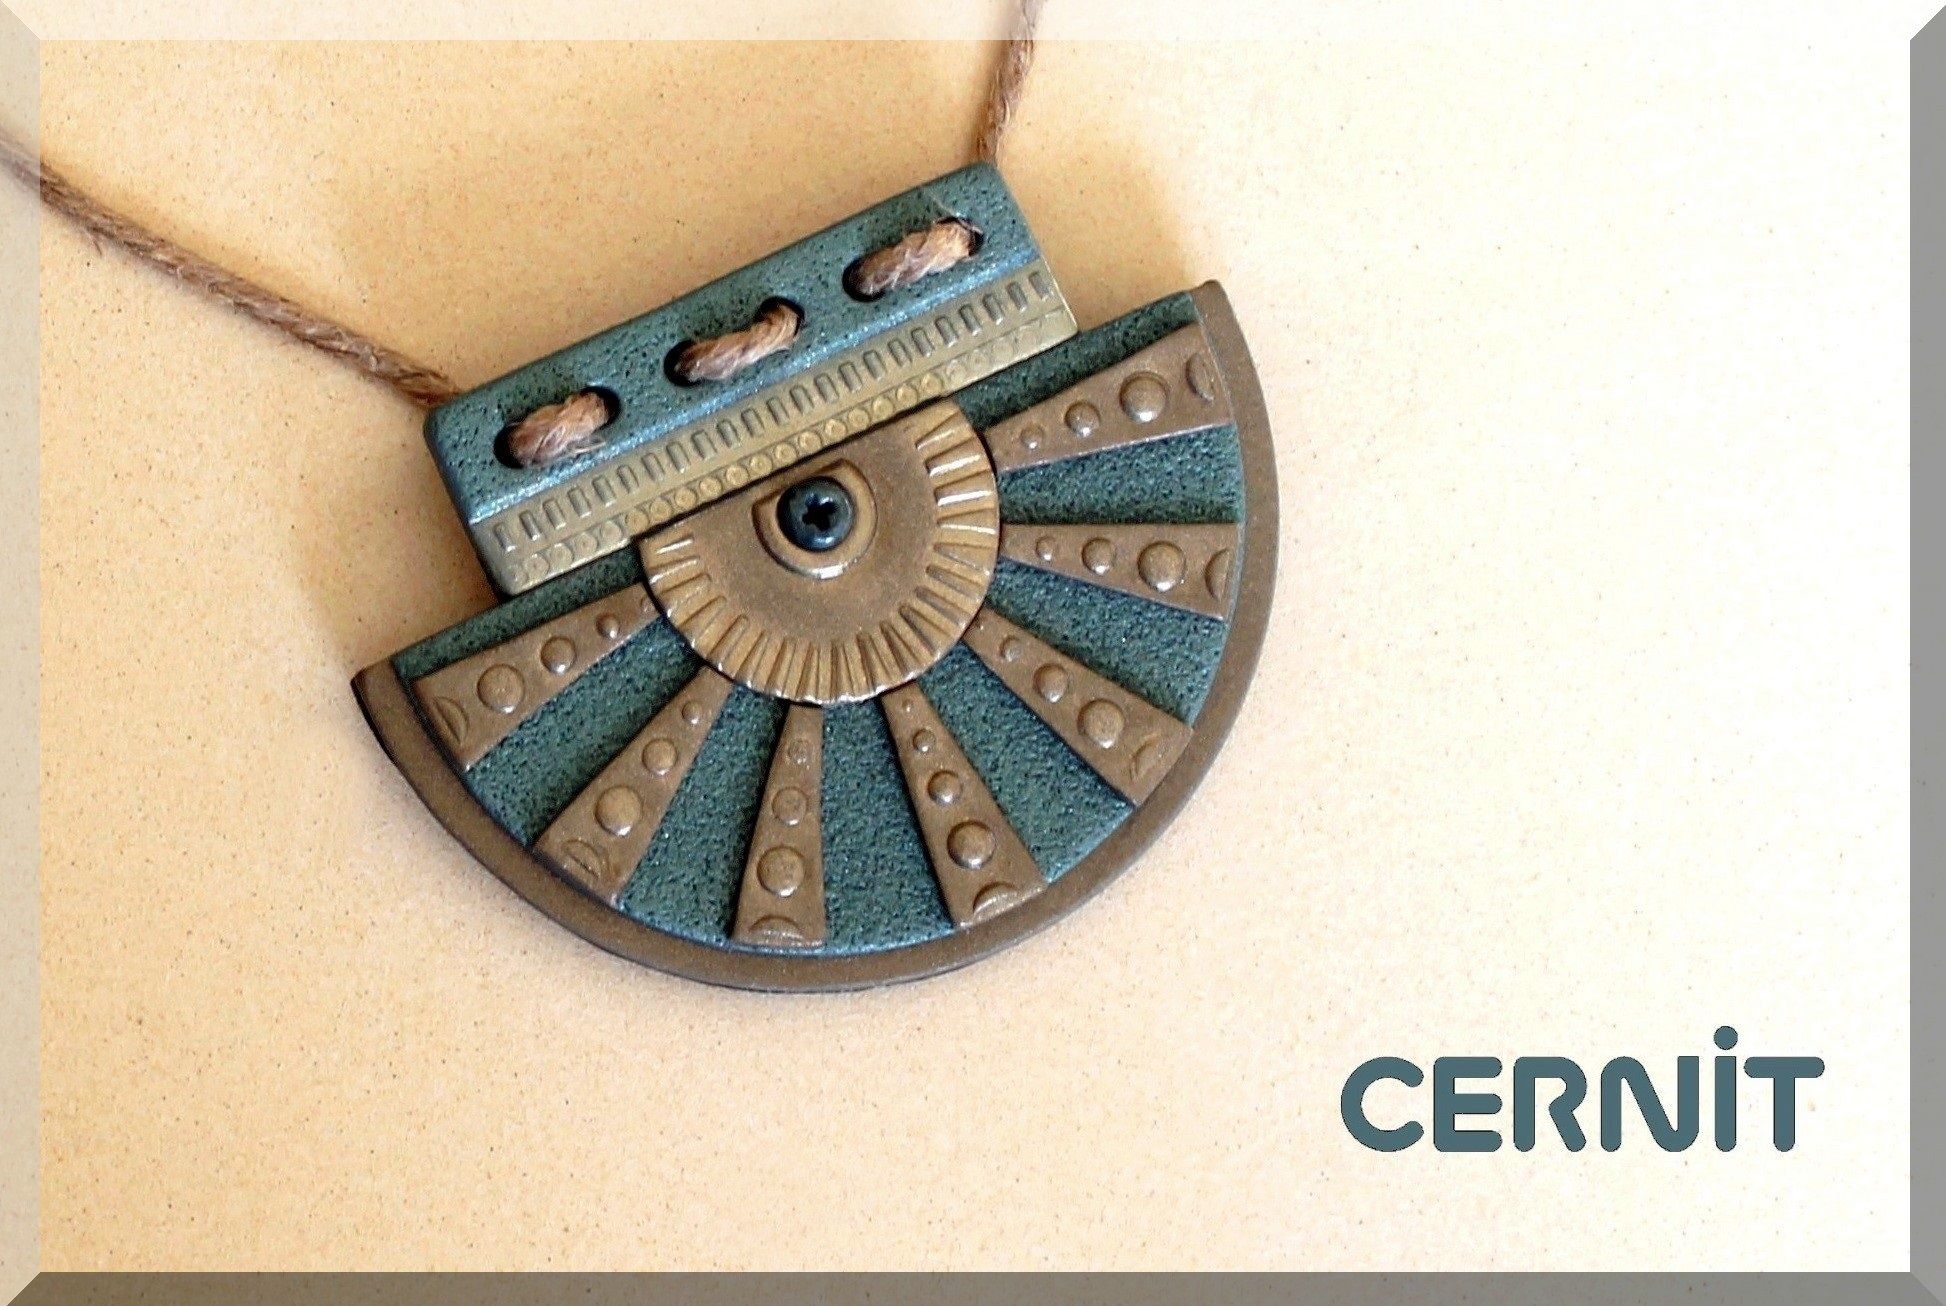
Cernit tutorial - Inca pendant

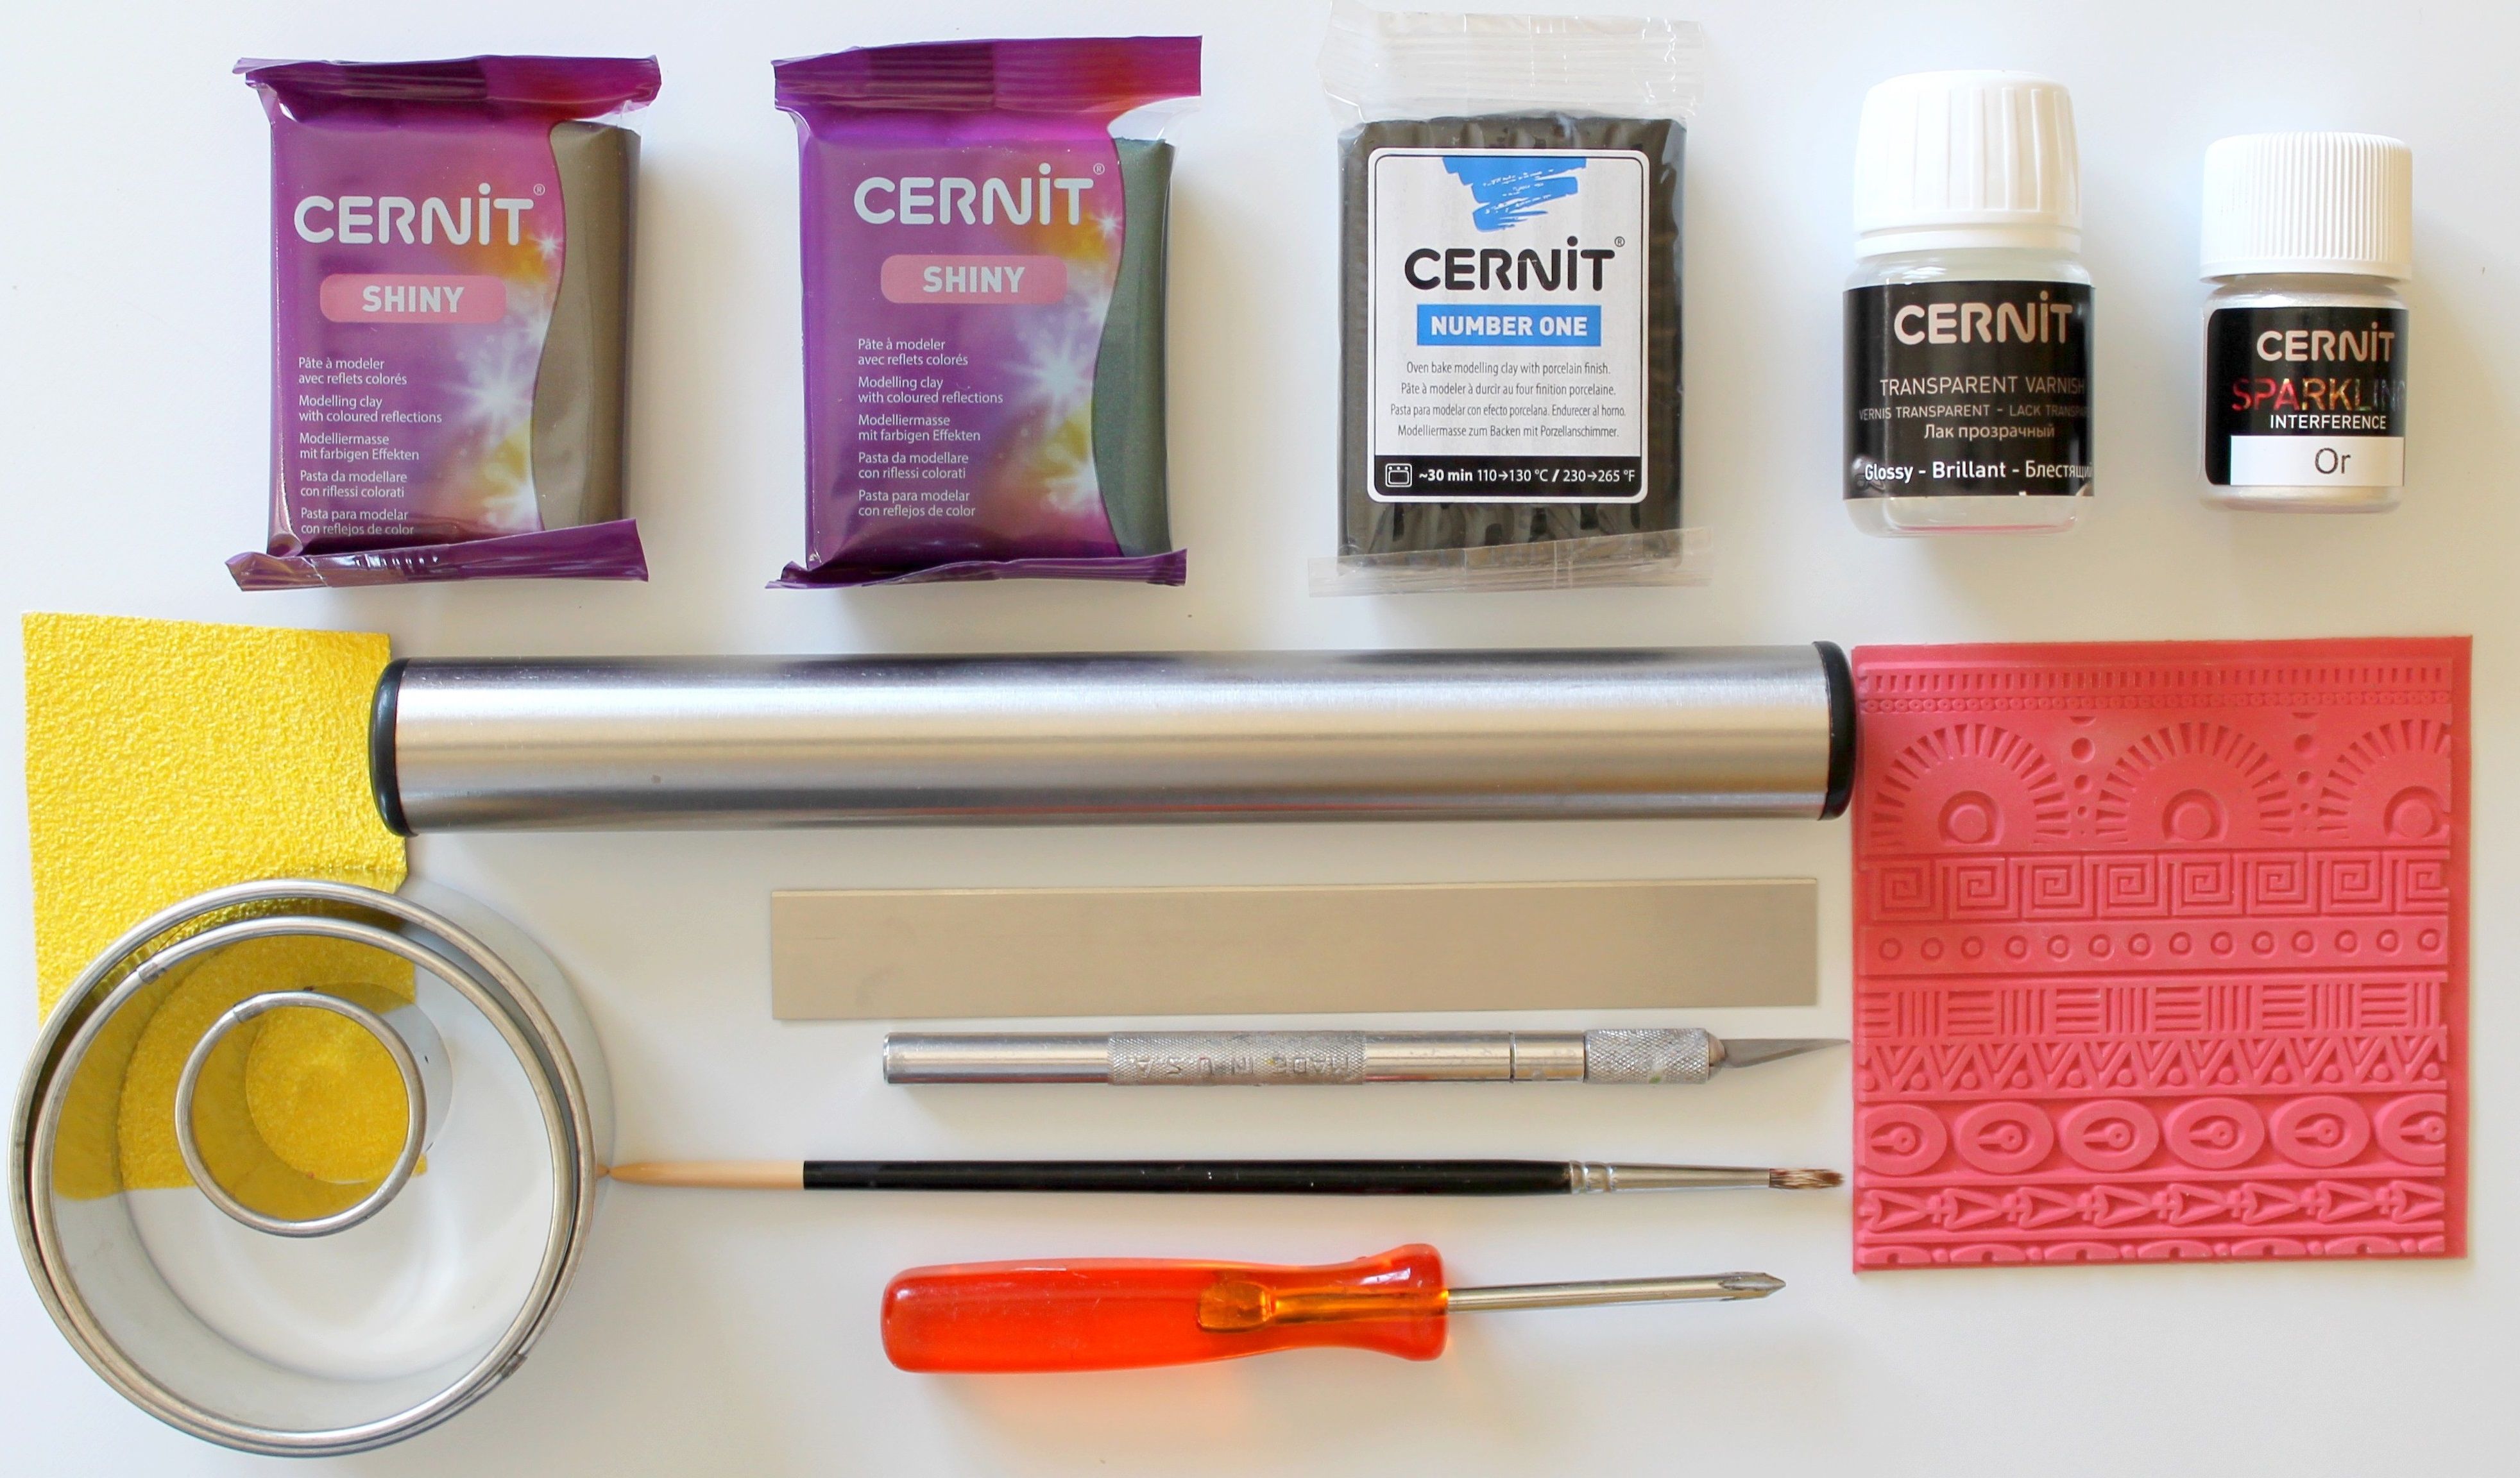
For this tutorial, please use the following elements:
-
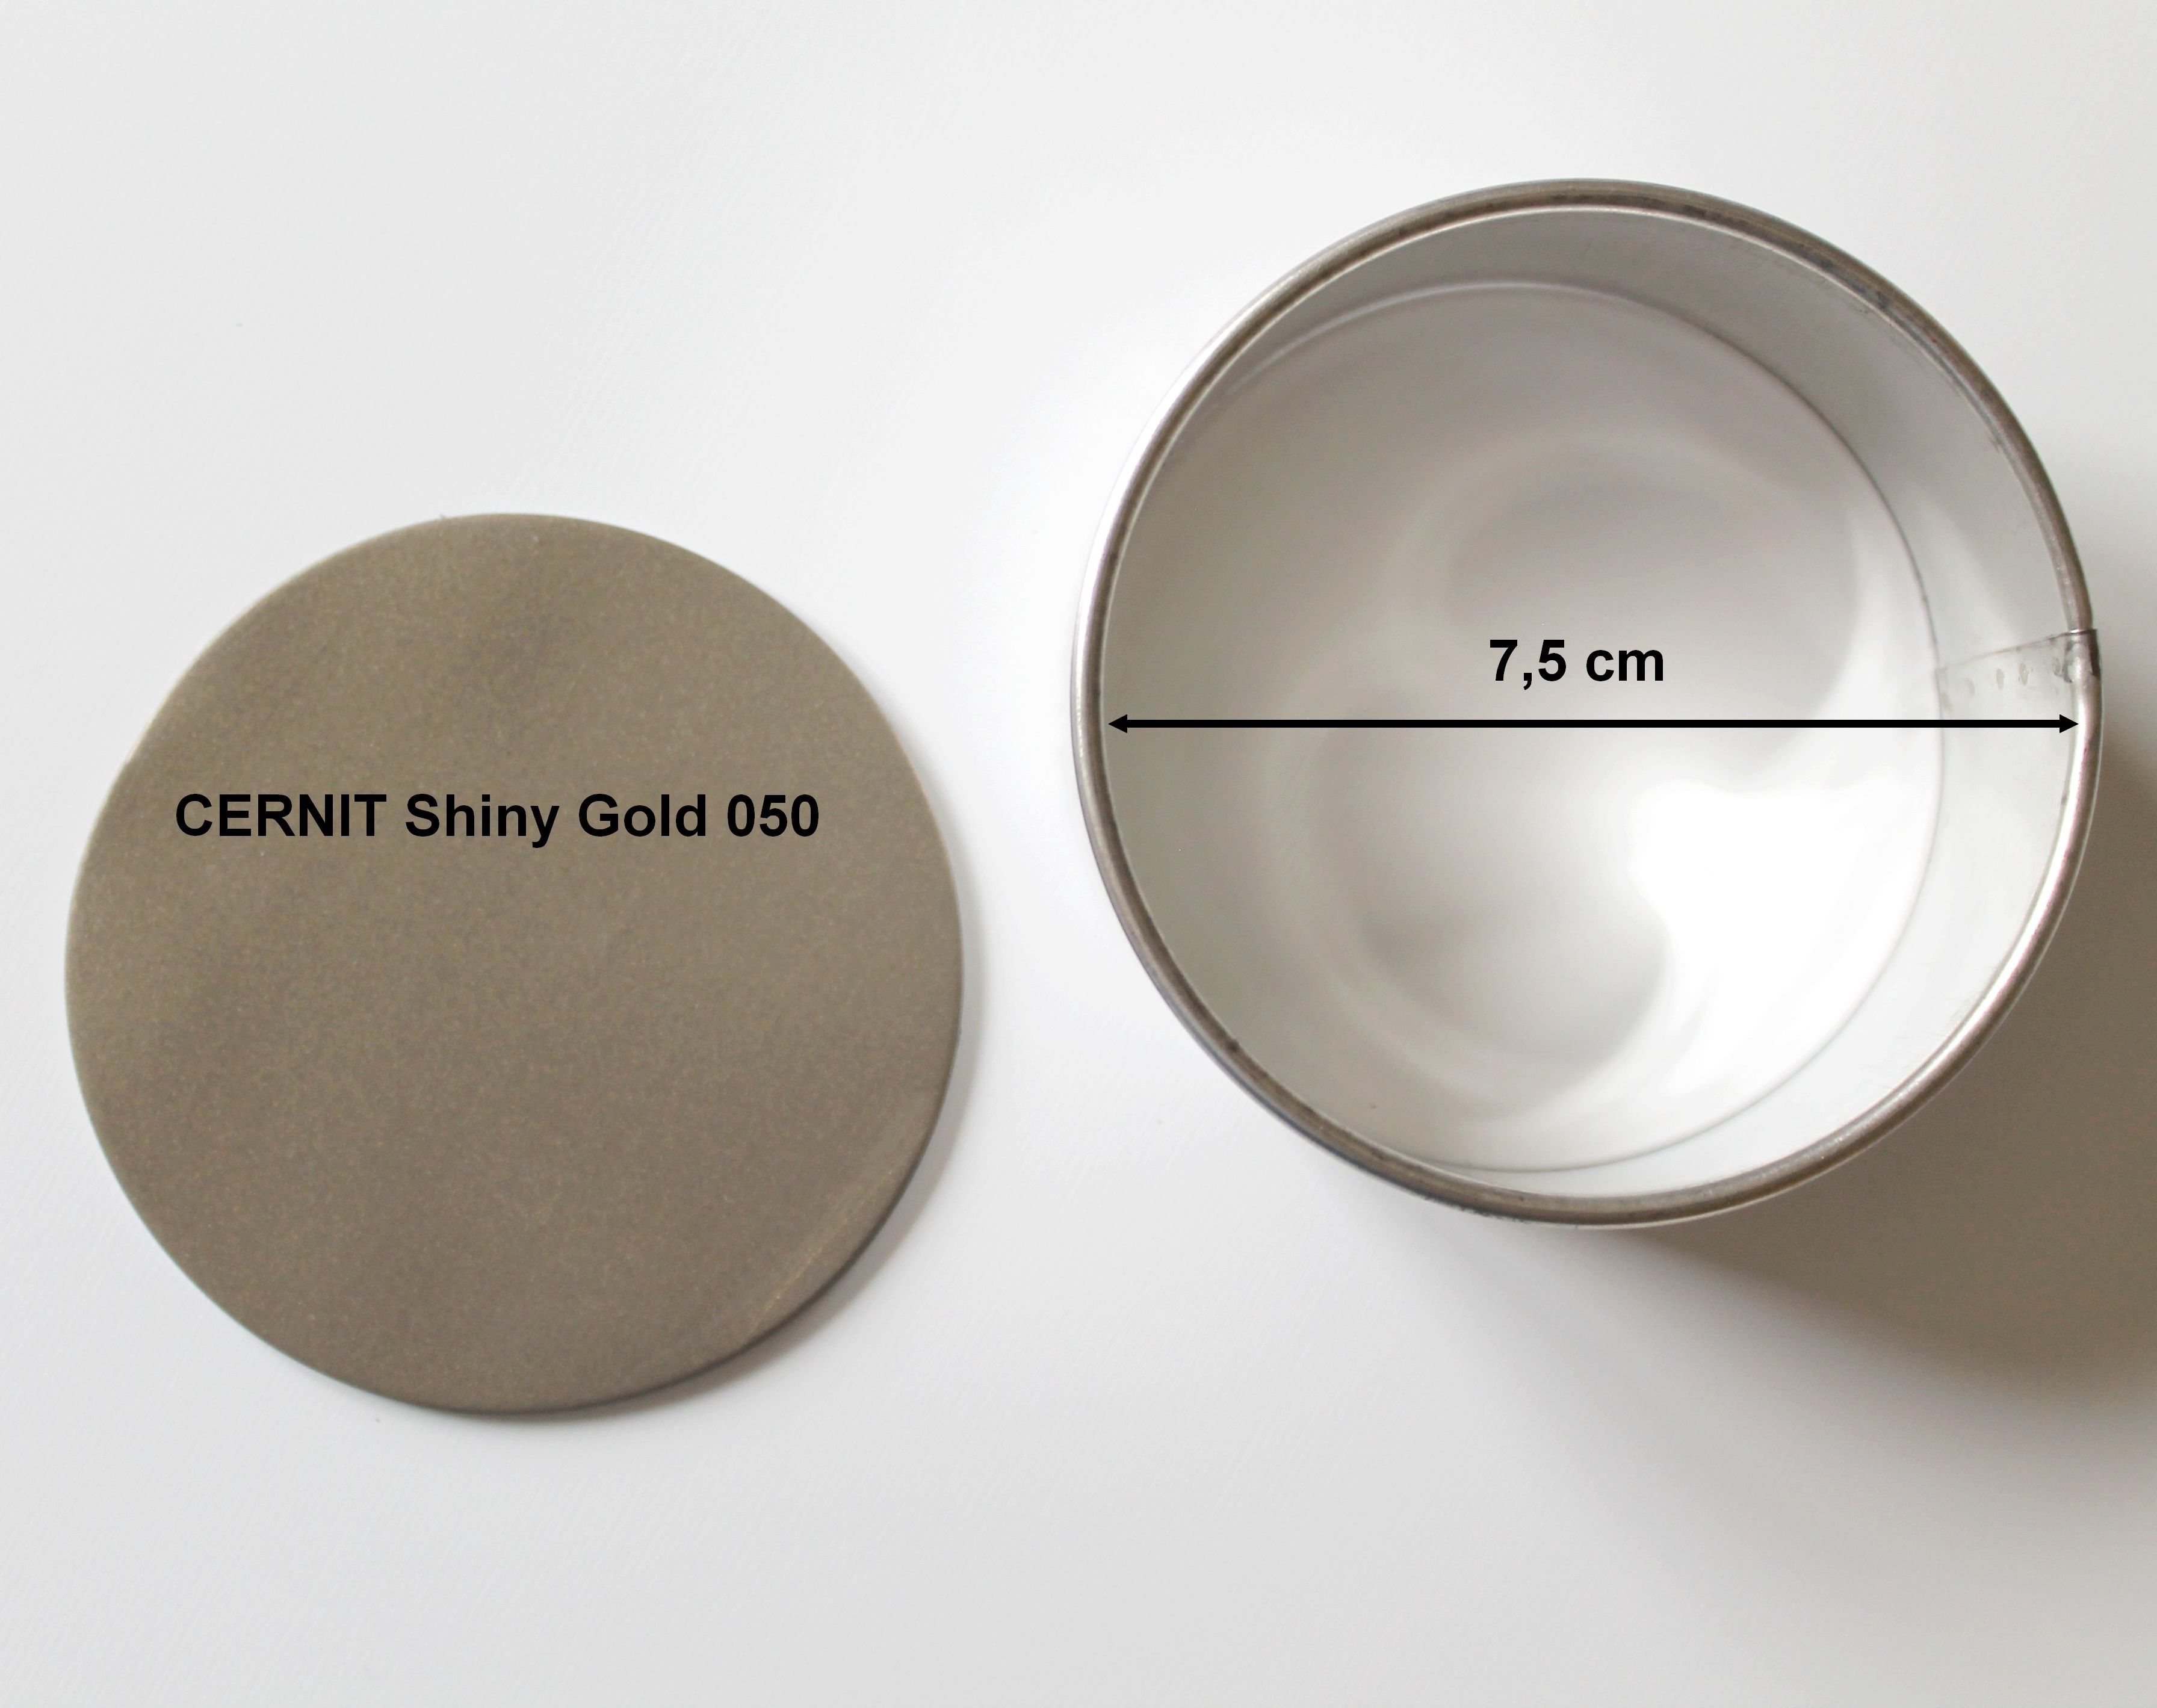
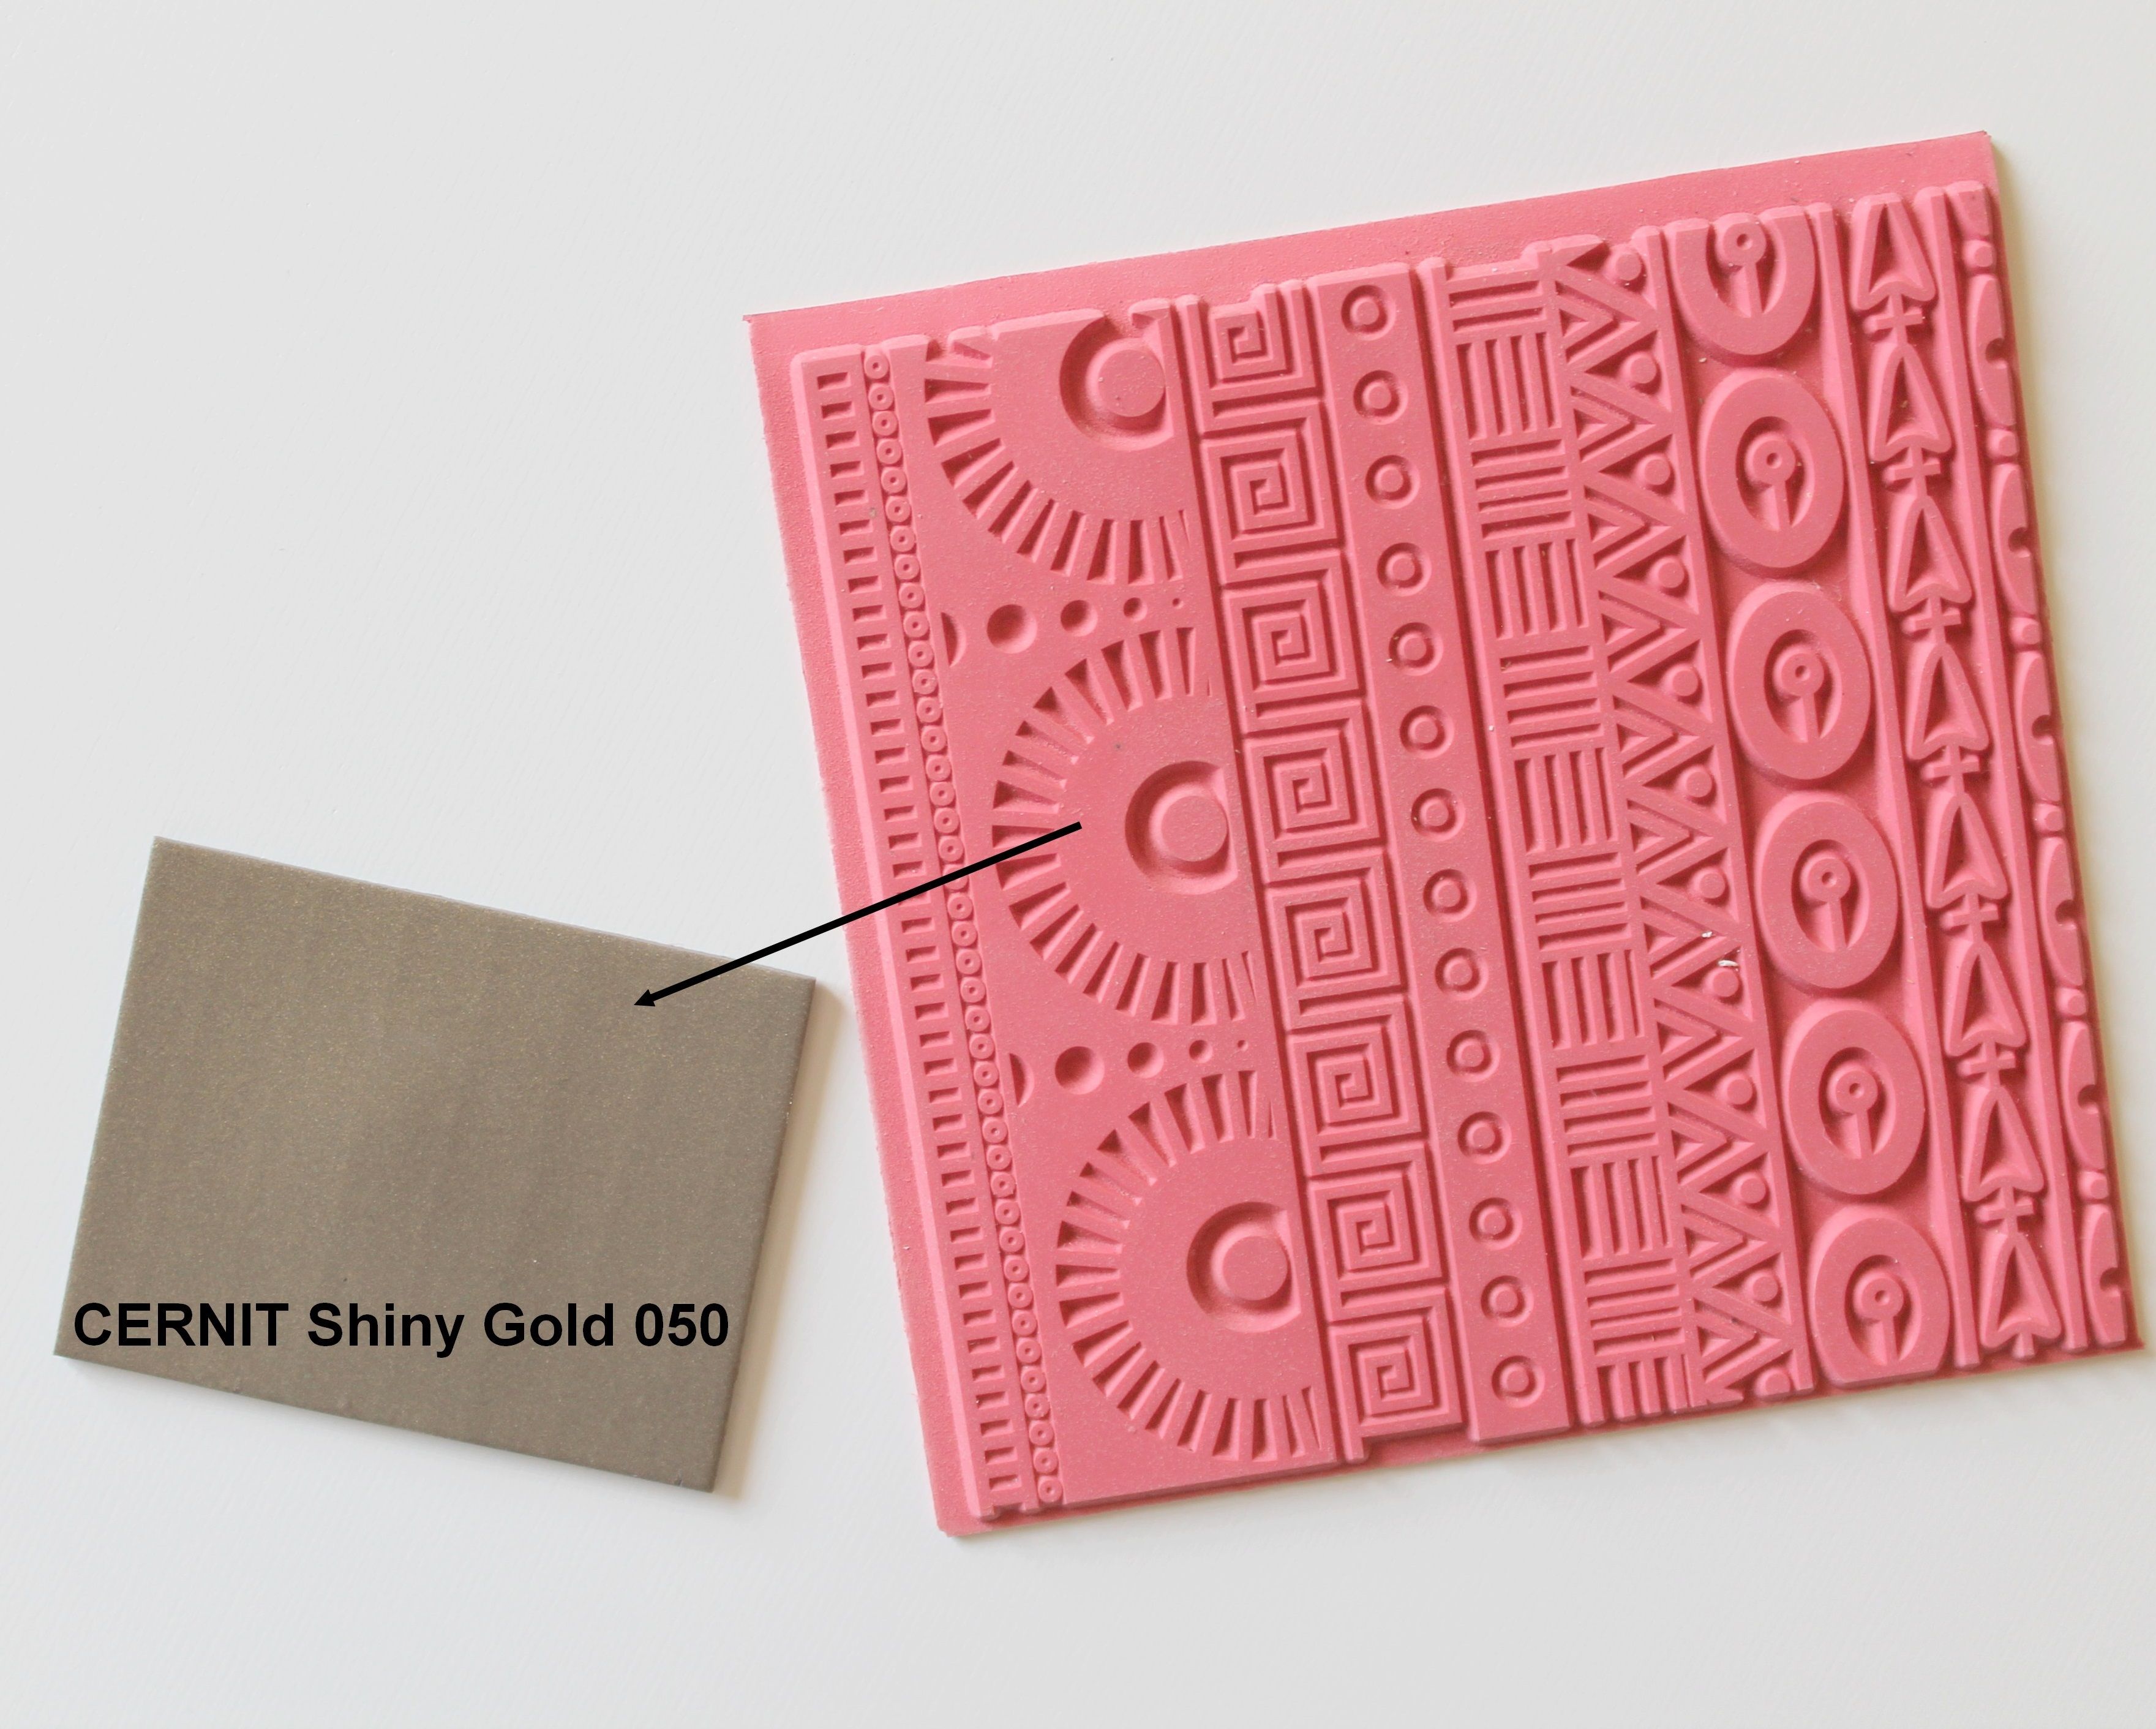
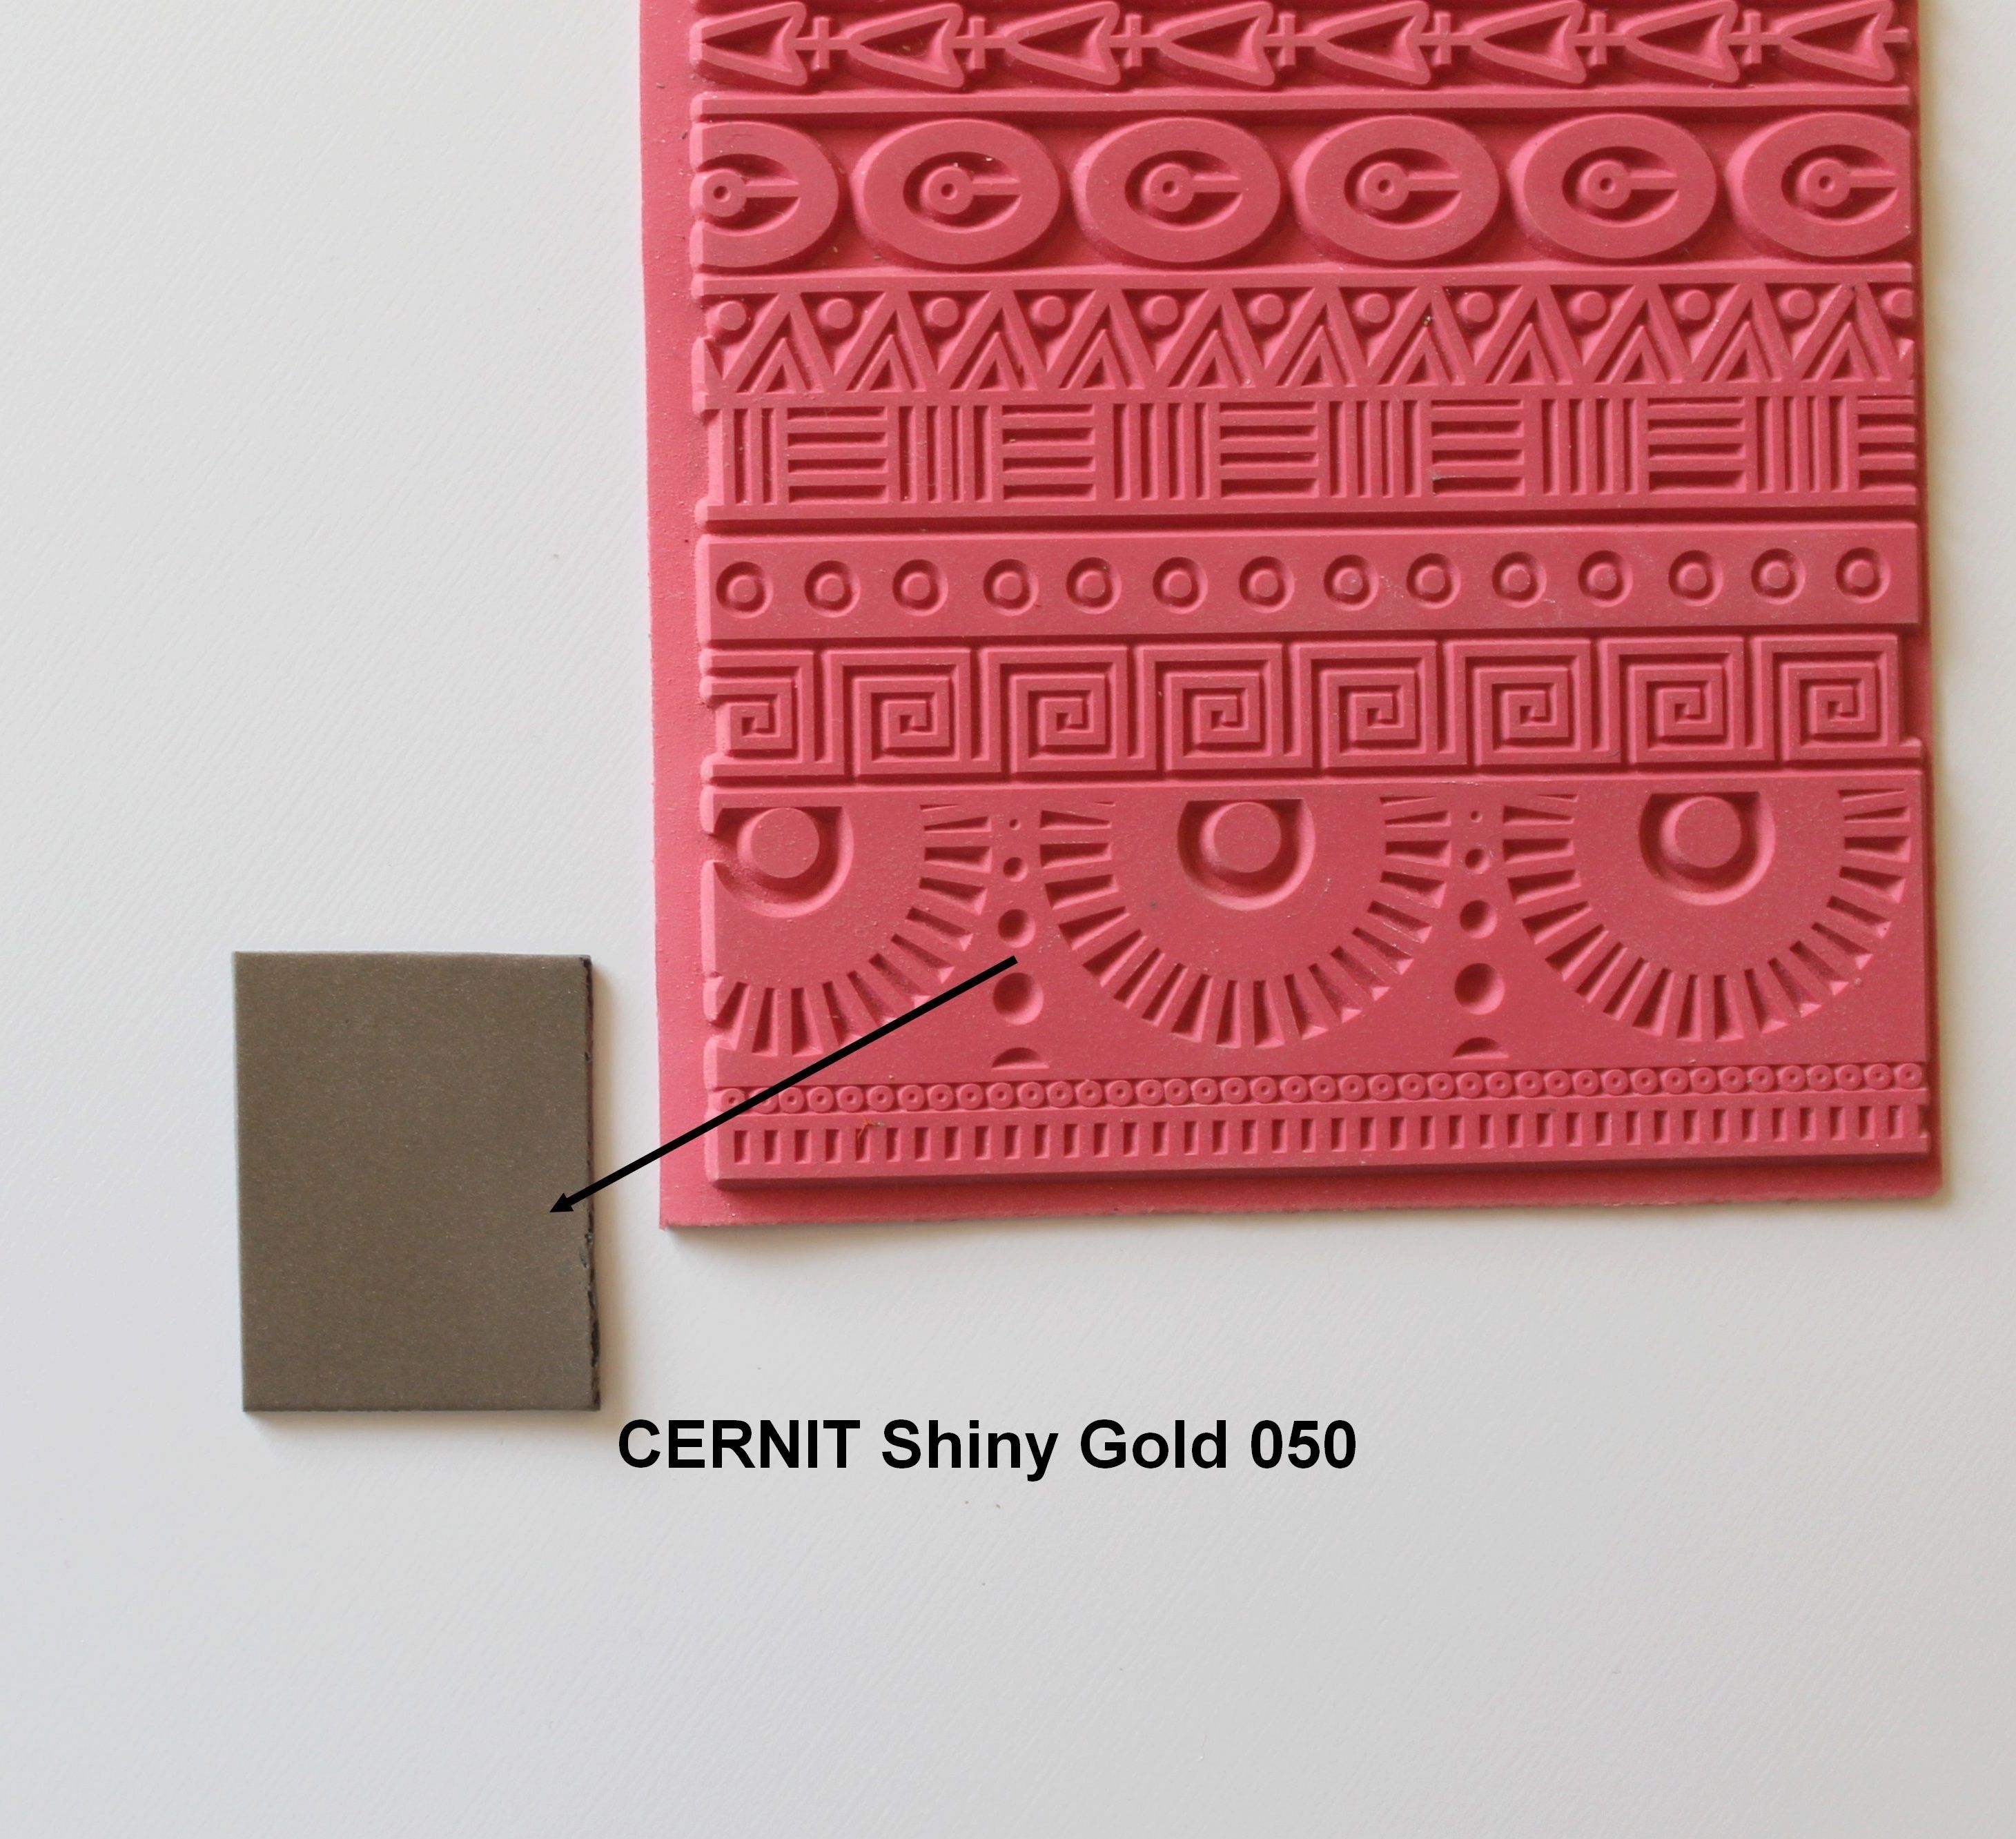
A piece of Cernit Shiny Gold 050
-
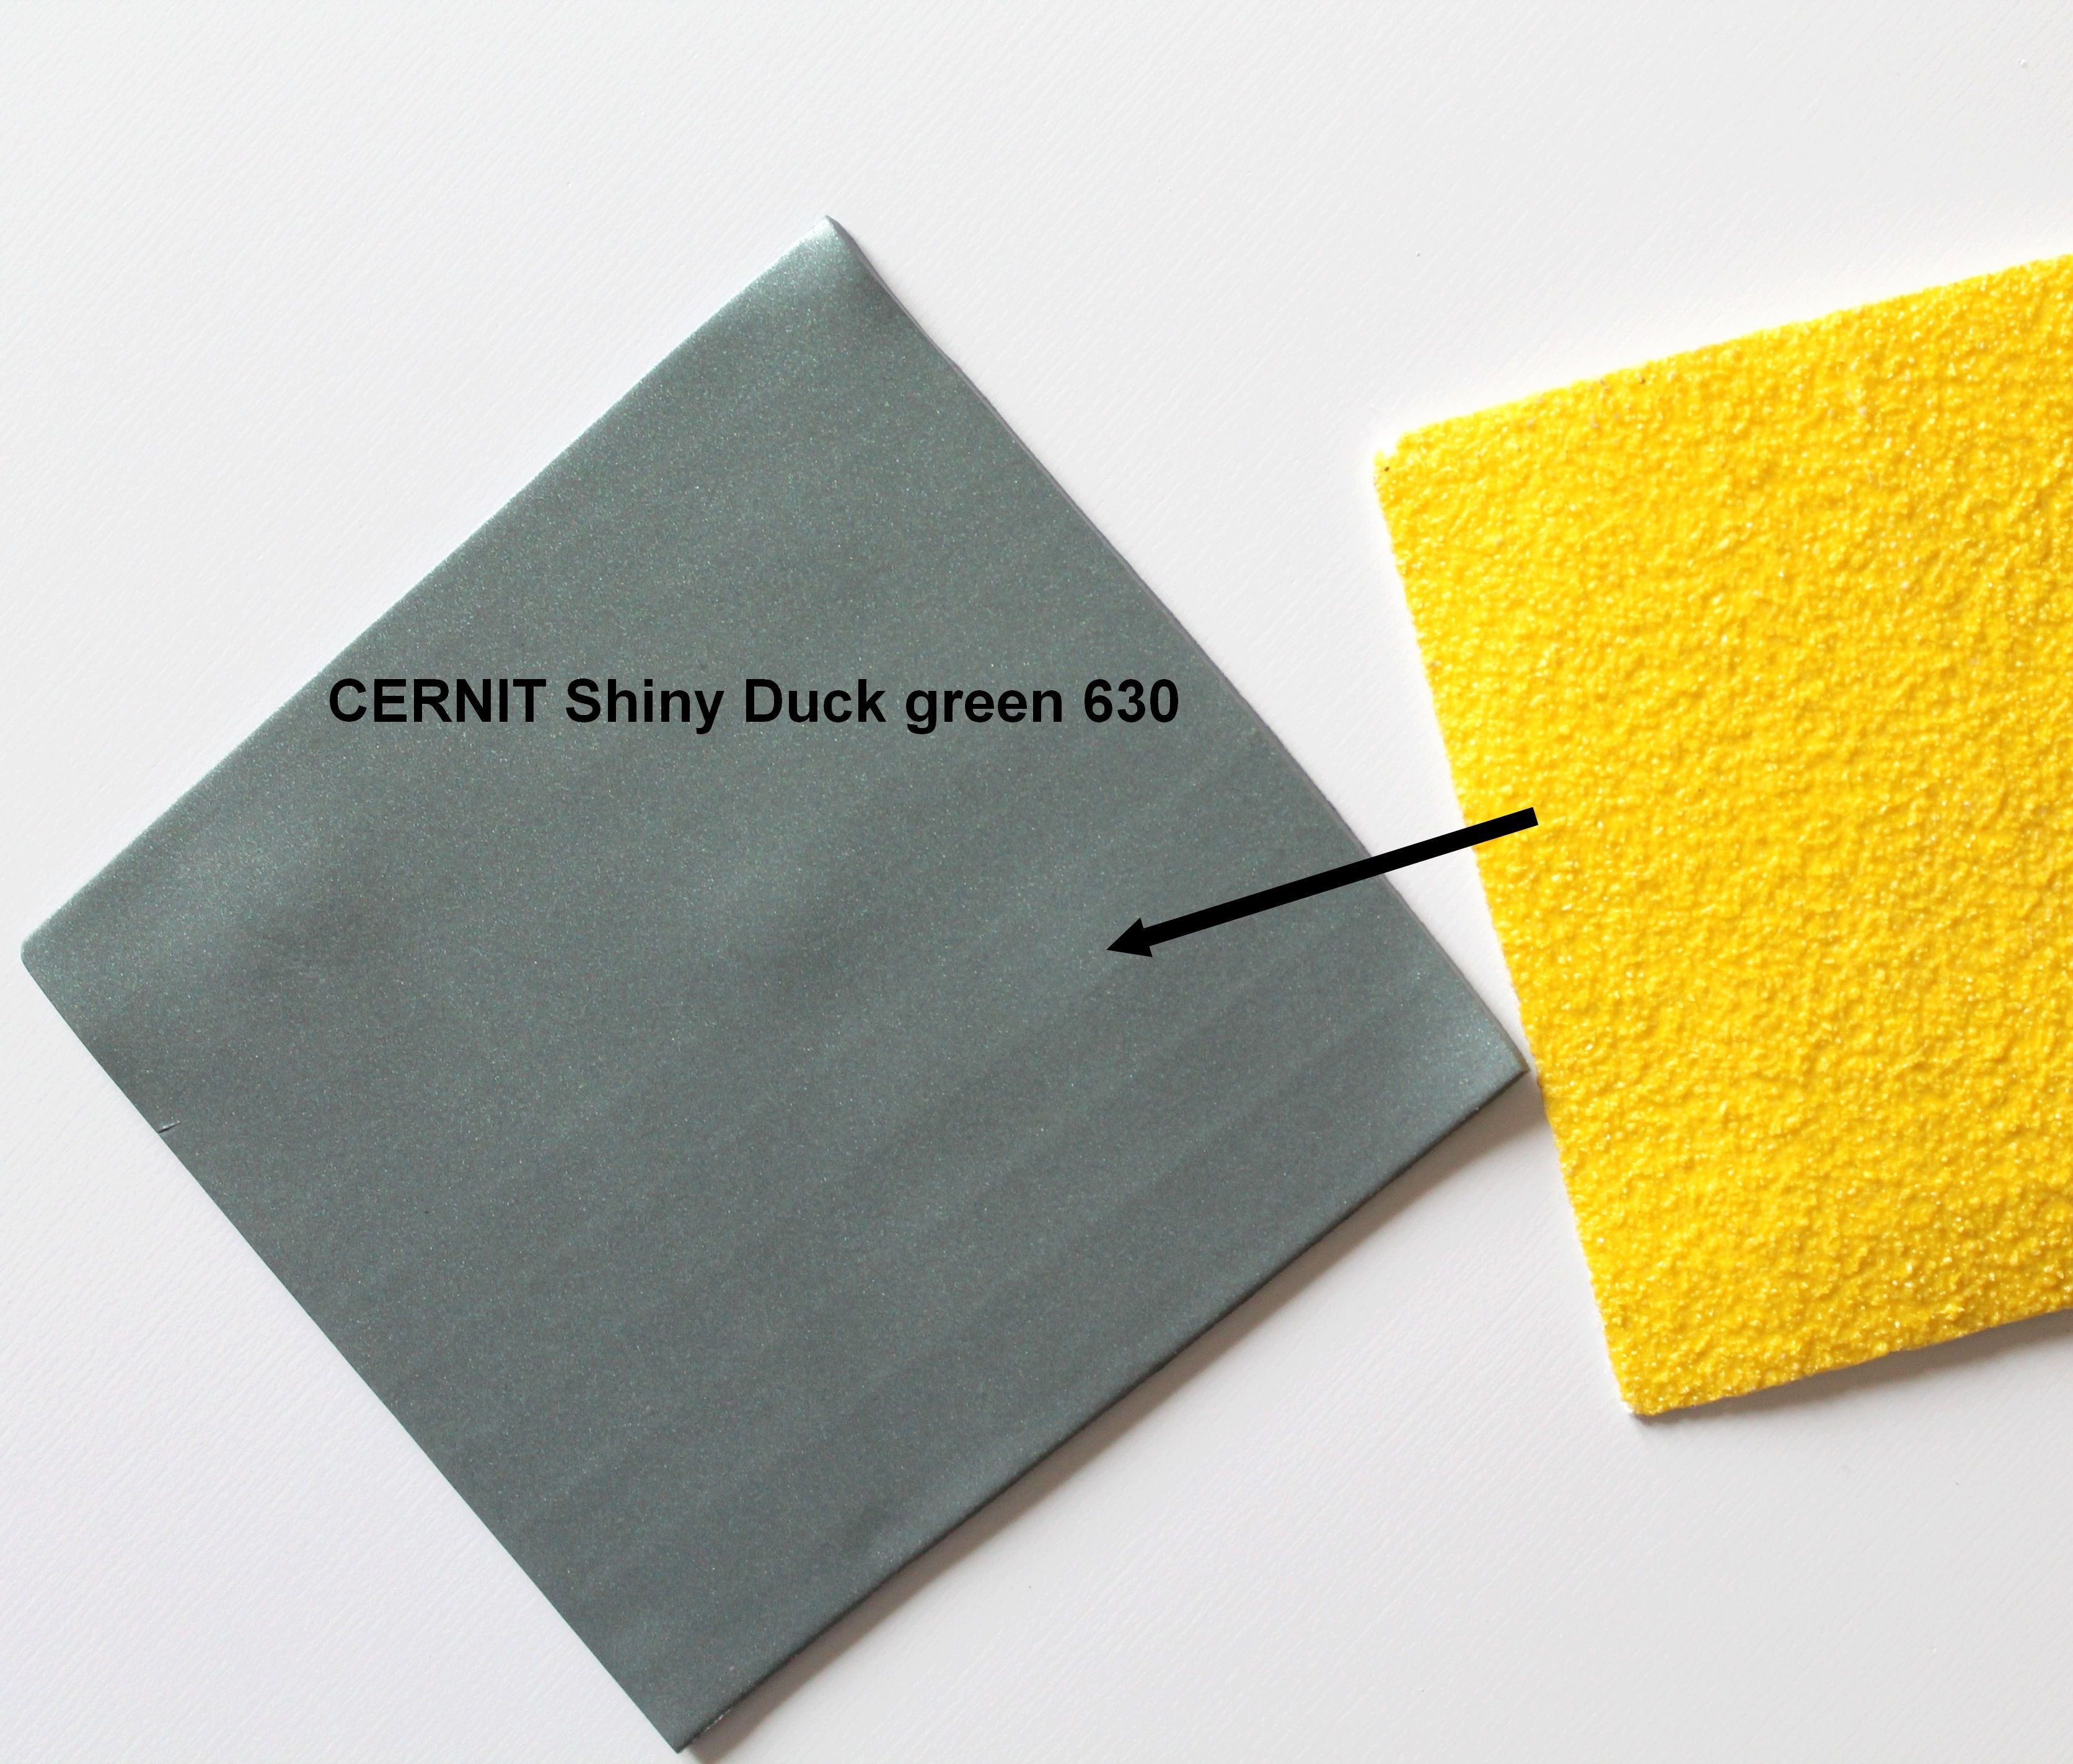
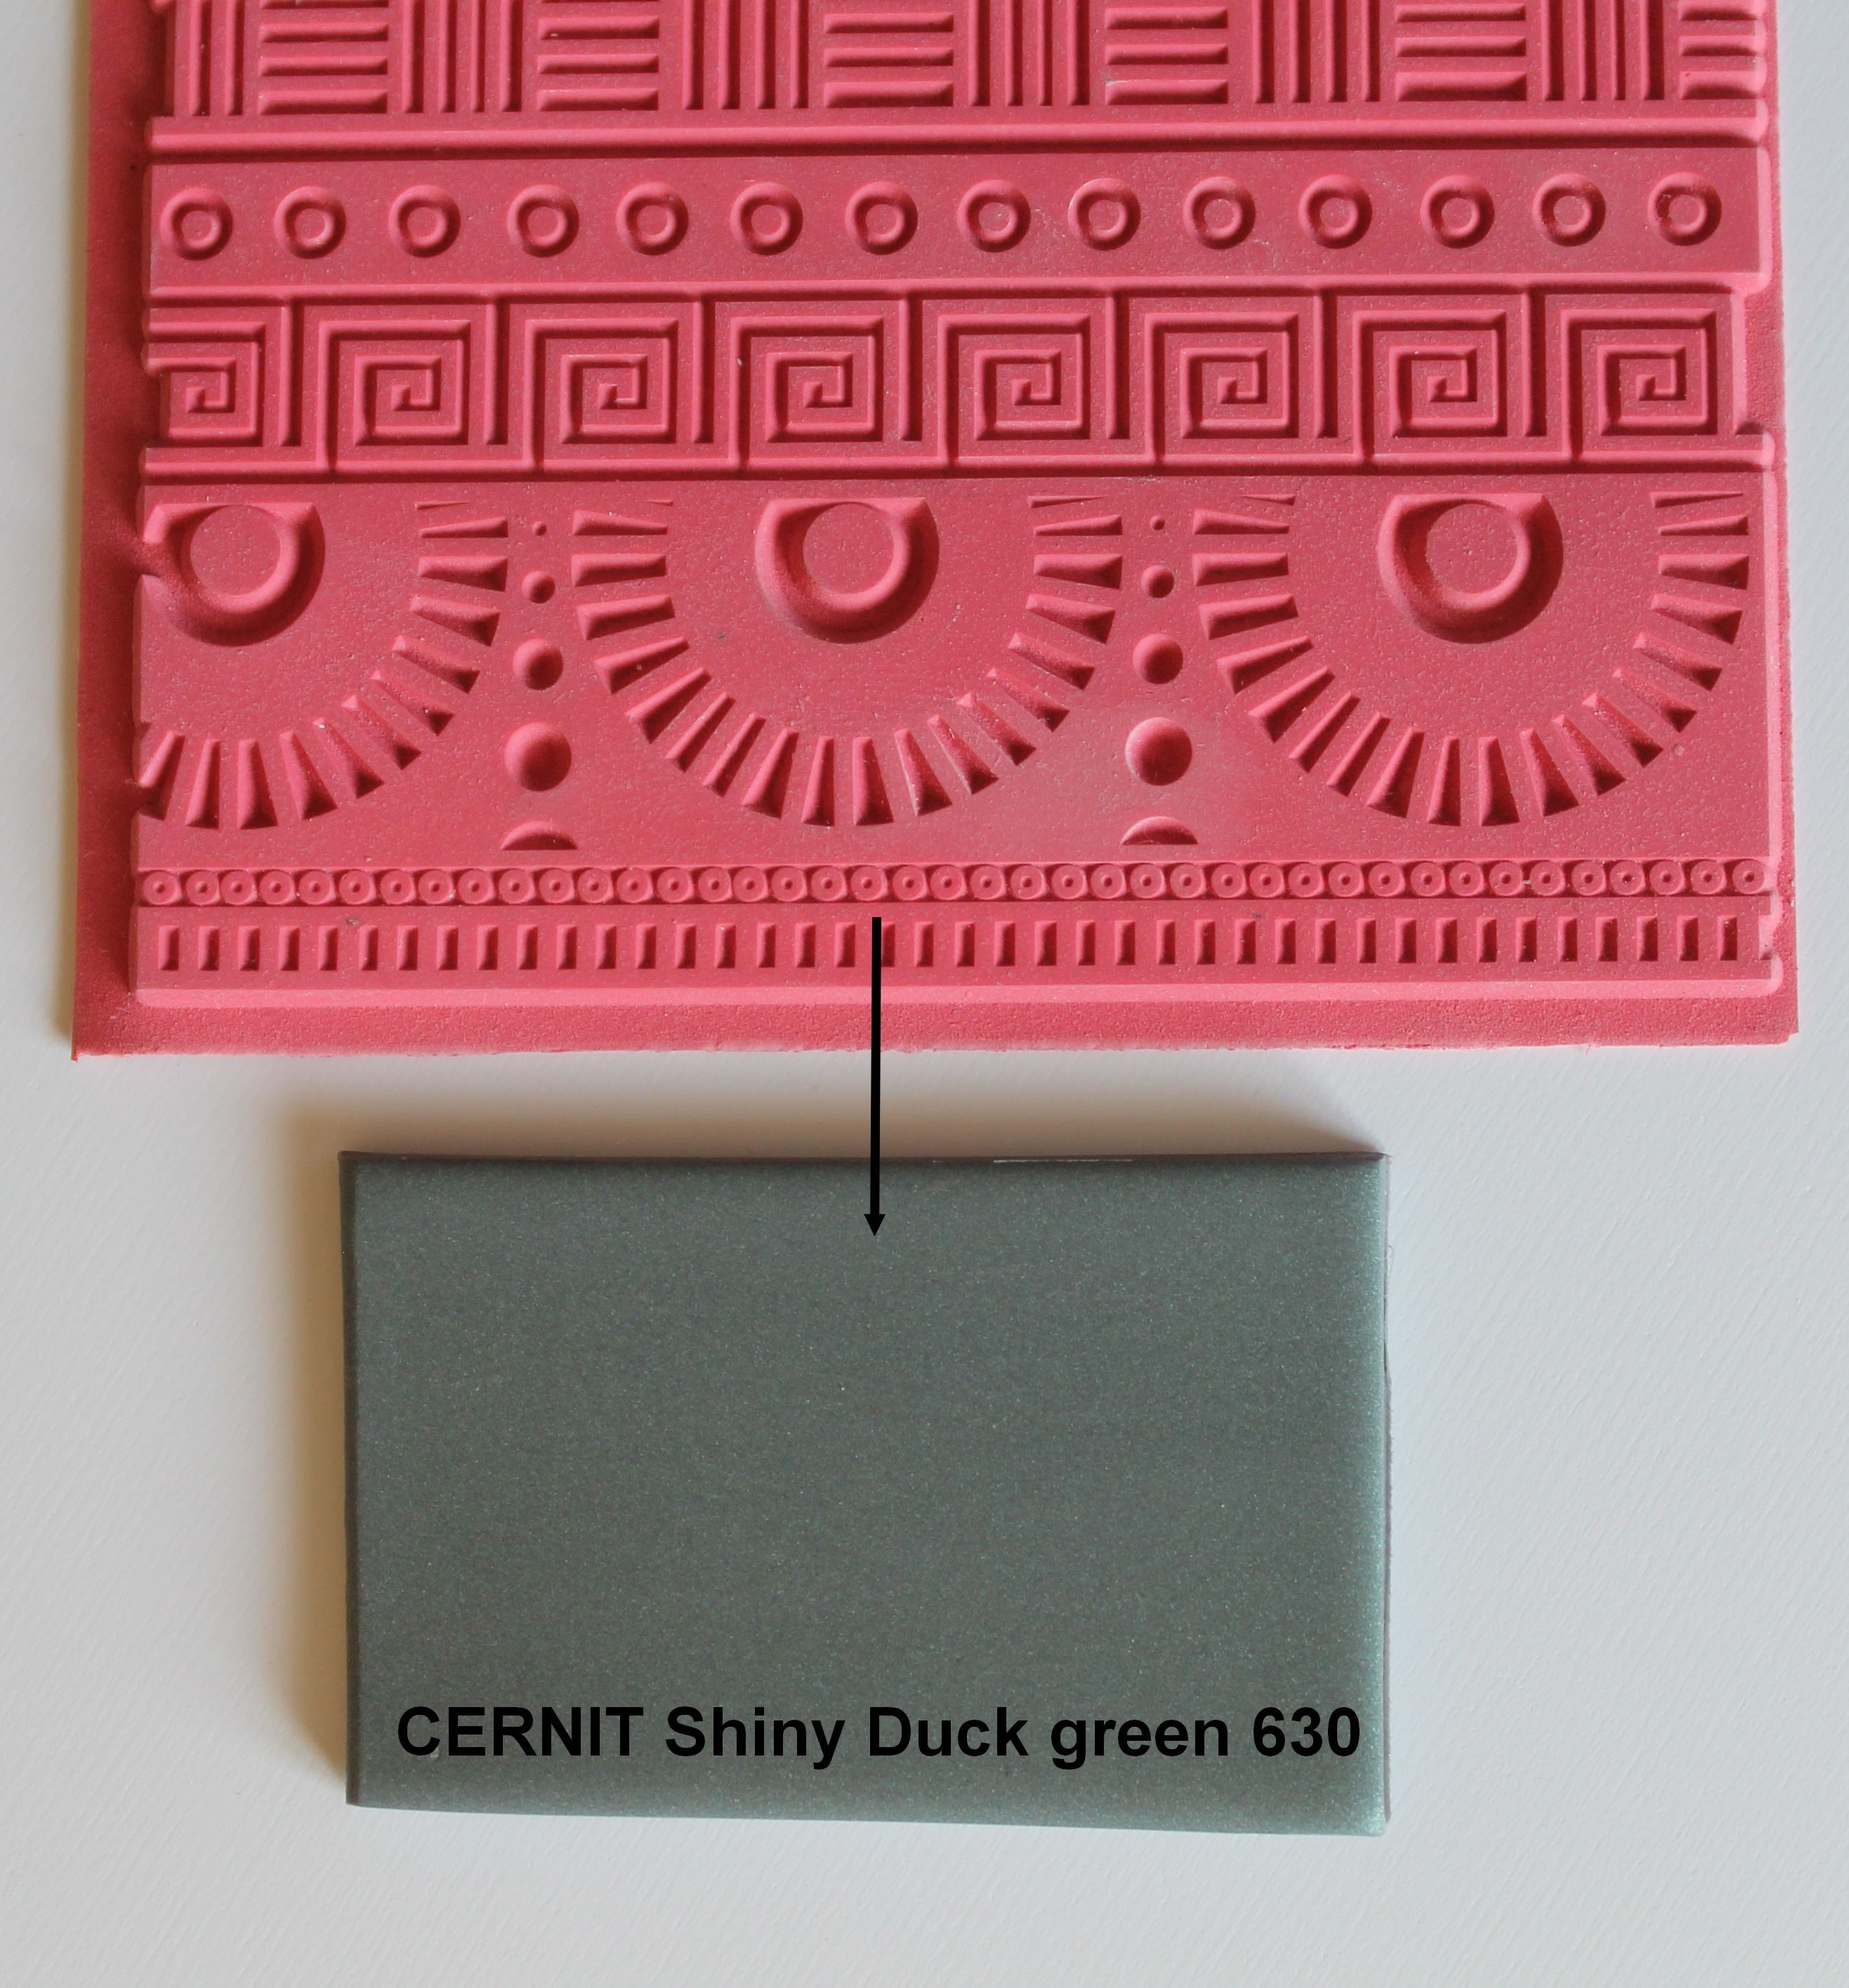
A piece of Cernit Shiny Green Duck 630
-
A Cernit Number One 100 Black piece
-
A bottle of 30 ml of brilliant Cernit varnish
-
A bottle of Cernit Sparkling Gold interference
-
Your tools: stainless steel roll or possibly pasta machine, blades, cutters, brush and the Geometrics texture plate
-
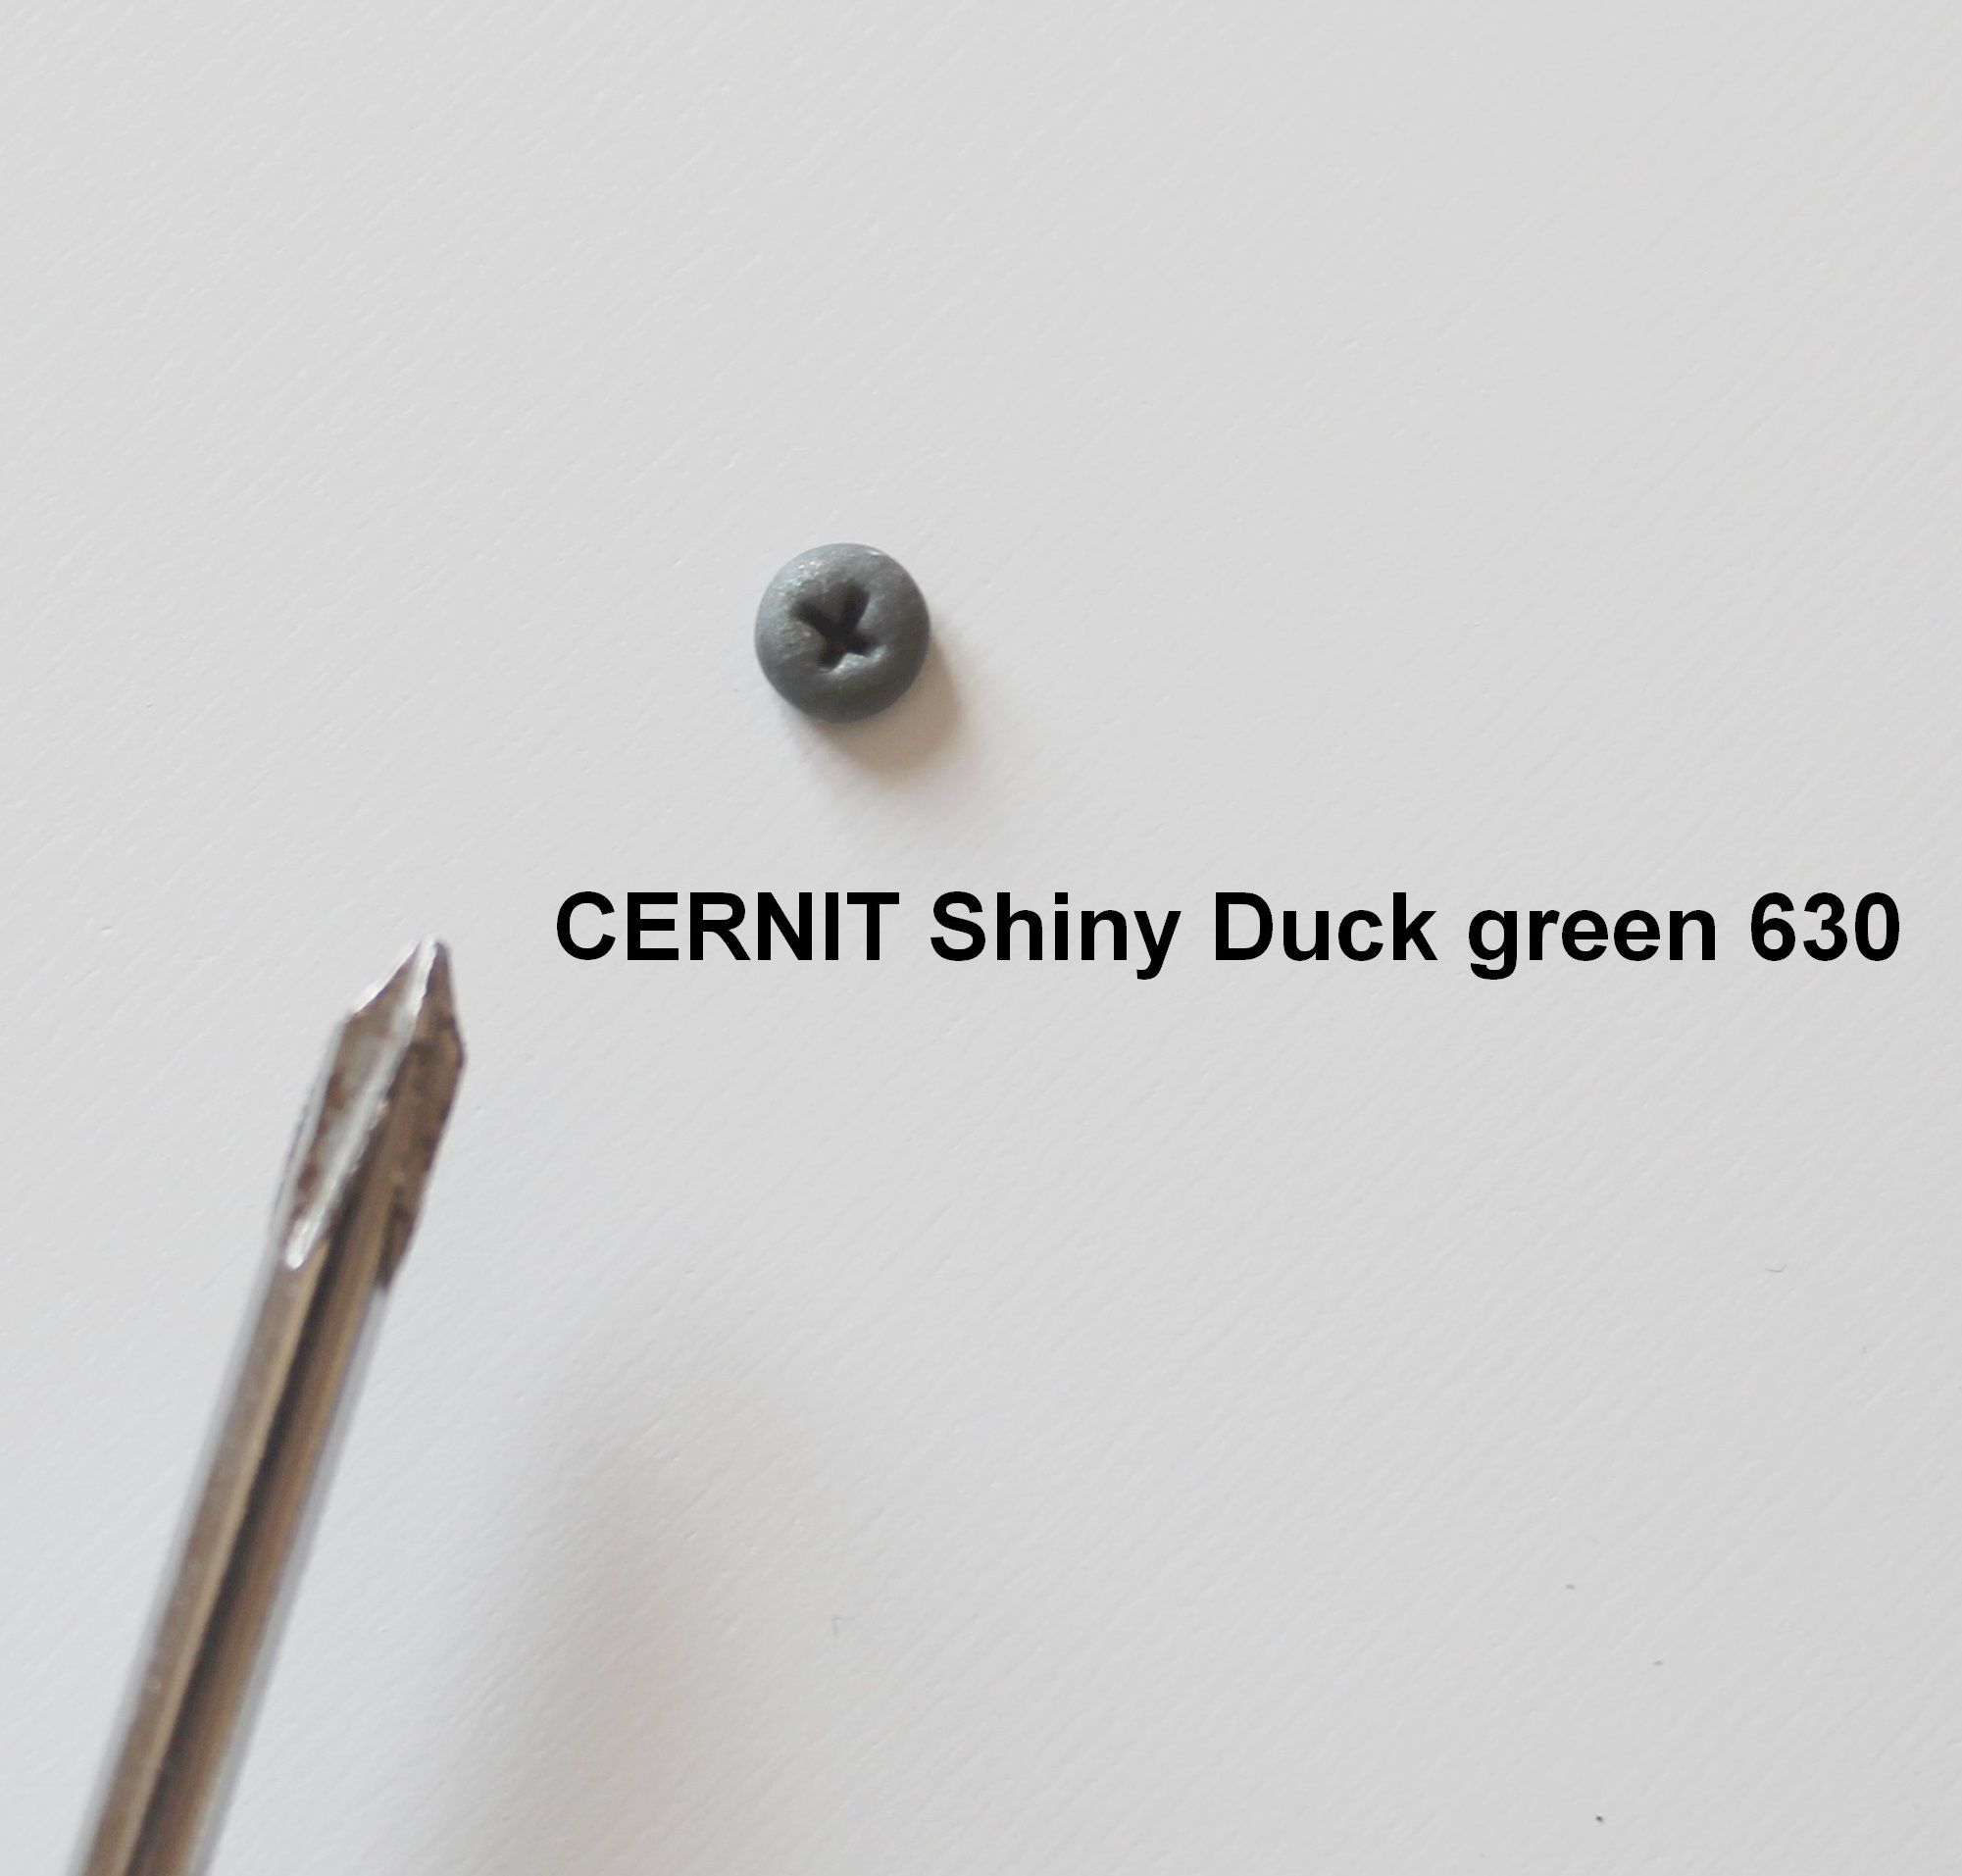
A screwdriver and a piece of plastic with a foam appearance that will allow you to slightly texture the clay
The Cernit Shiny offers you a perfect metallic rendering for the realization!
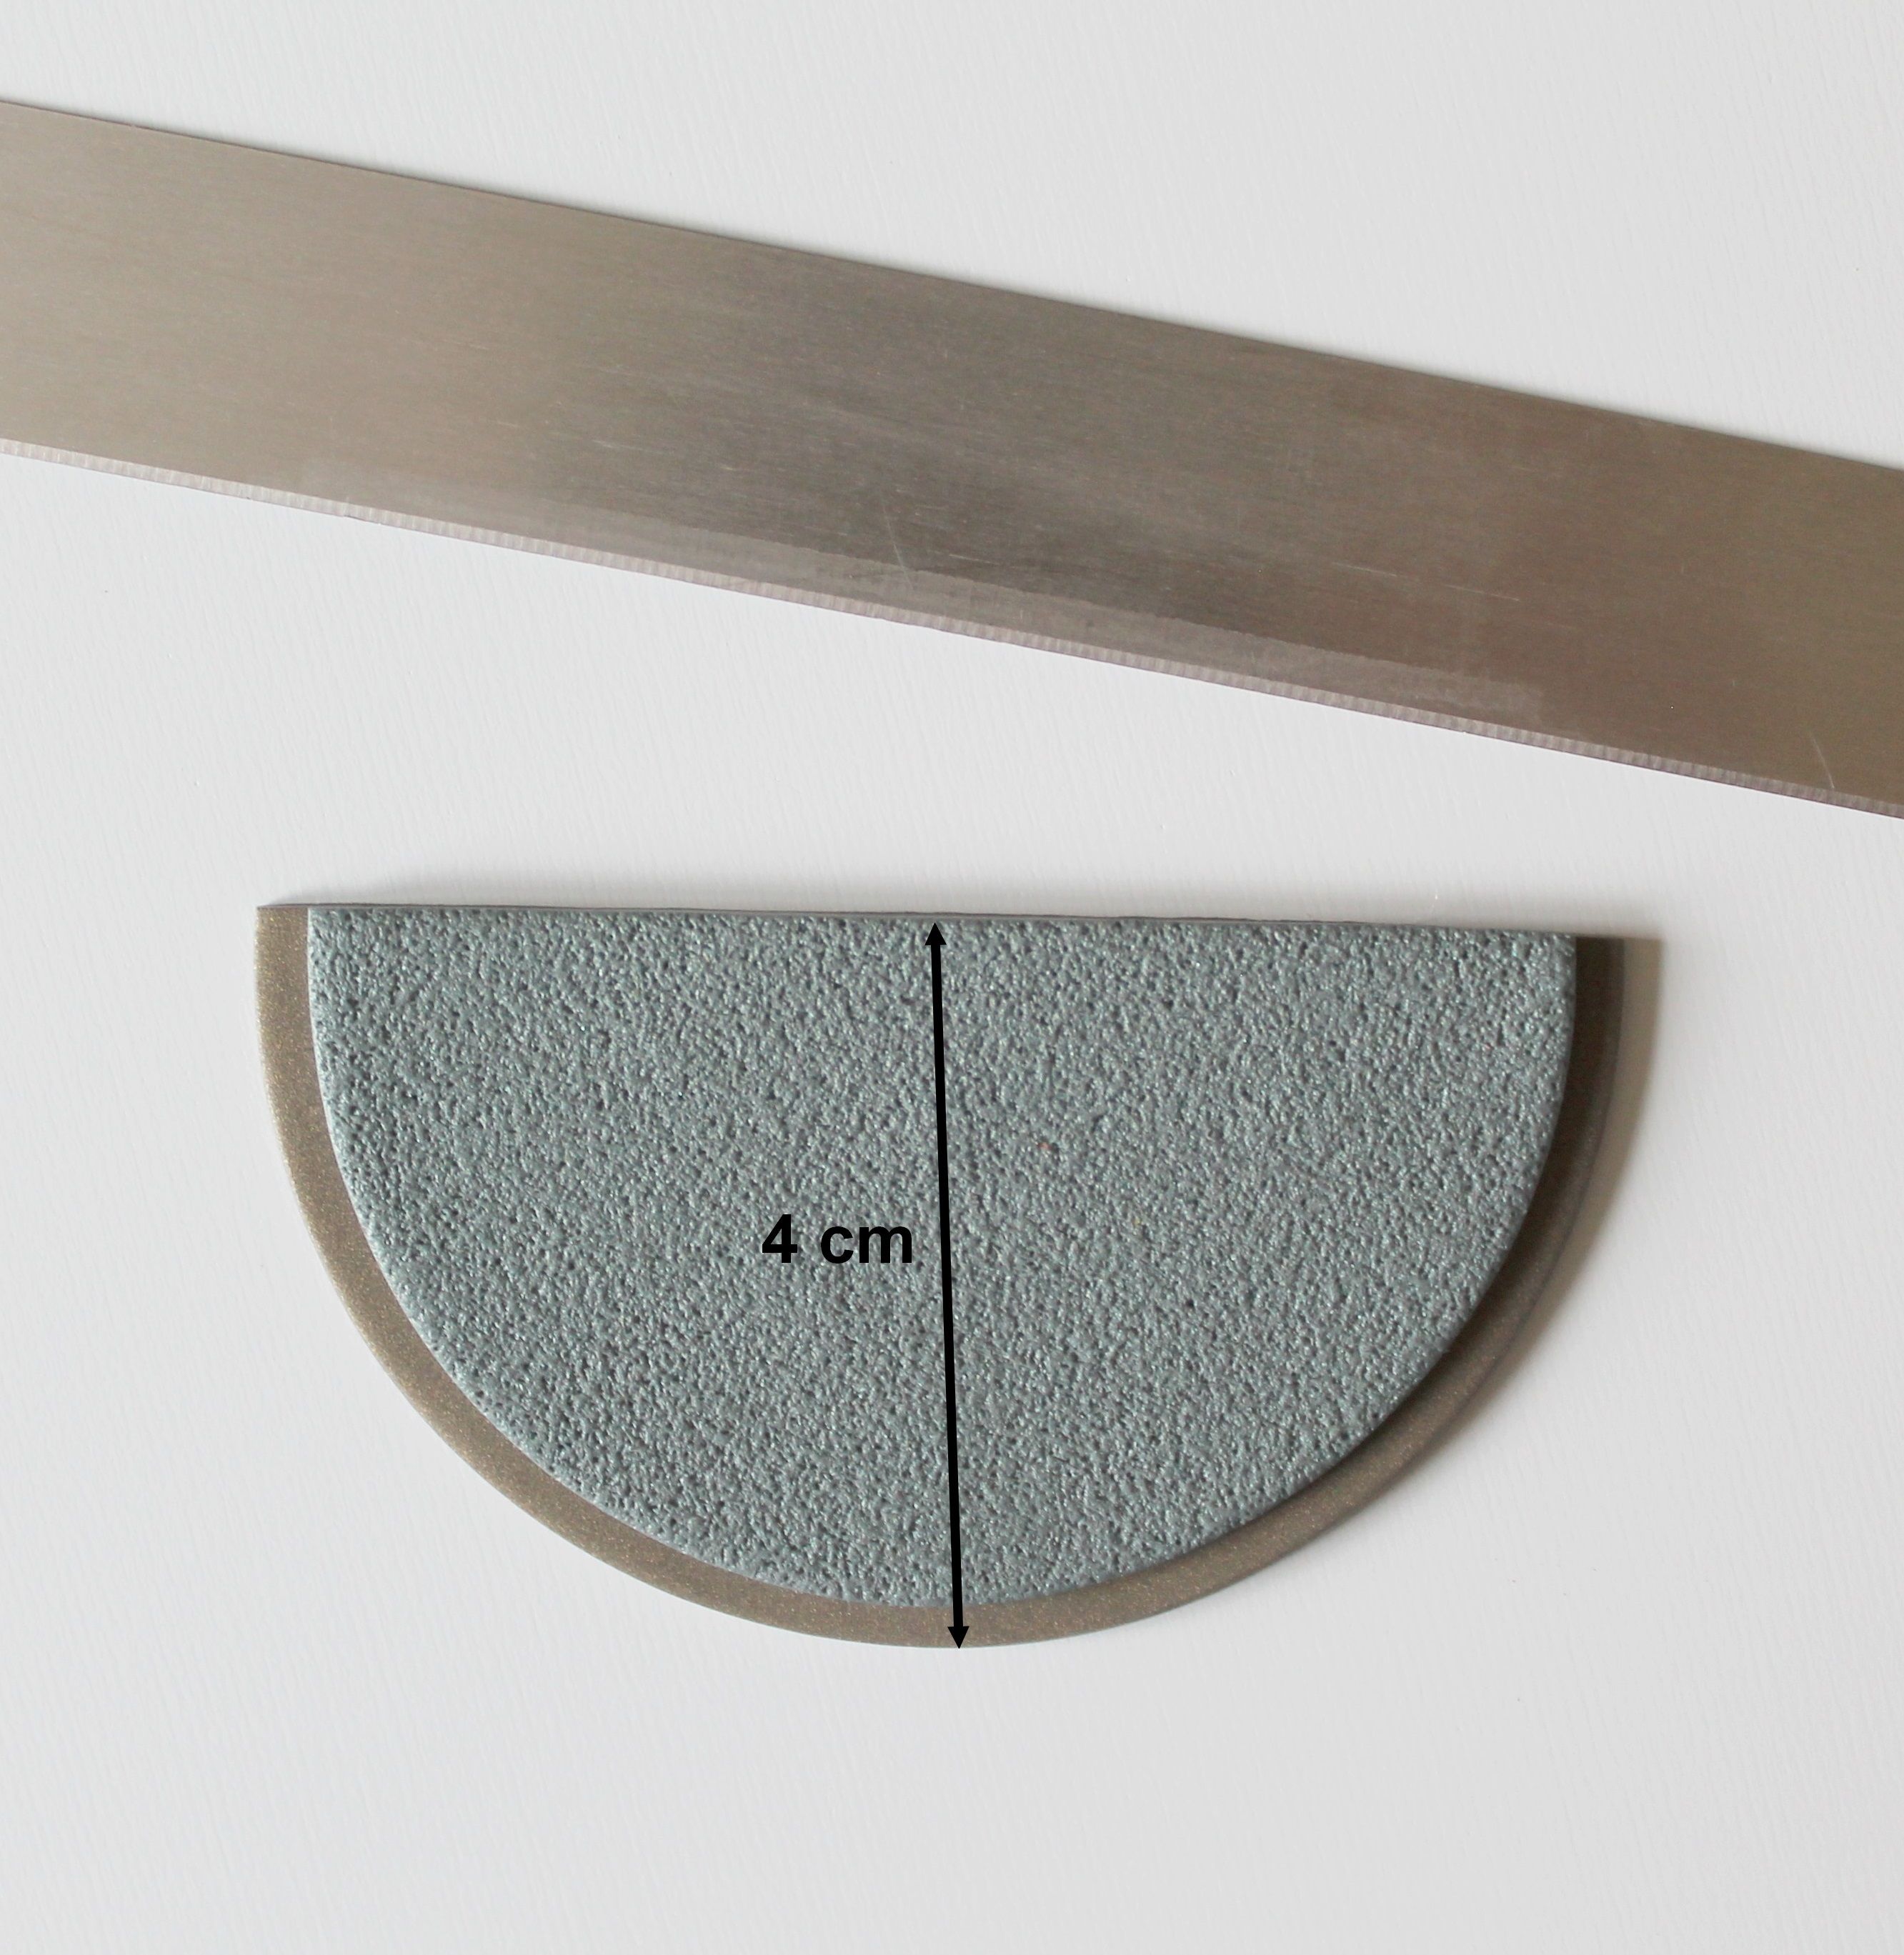
Spread the Shiny colours in 2 sheets. The gold sheet should be cut with a round cutter, preferably with a diameter of 7.5 cm. The other sheet, cut it with a slightly smaller cookie cutter, with a diameter of 7 cm.
Slightly texture the plates to give them a grainy appearance and thus avoid any fingerprints or other irregularities. You can use reused materials to achieve this.
![]()

Overlay the two rounds of clay and cut in half. Prefer a rigid blade for a perfectly clean result. The sharp blades must be used with the protective rubber for your comfort of use.
Now use one of the pieces of your Shiny gold sheet to texture it using the Geometrics plate (especially the pattern shown). This plate with many patterns allows you to break down your plates to recompose by combining the elements according to your taste.
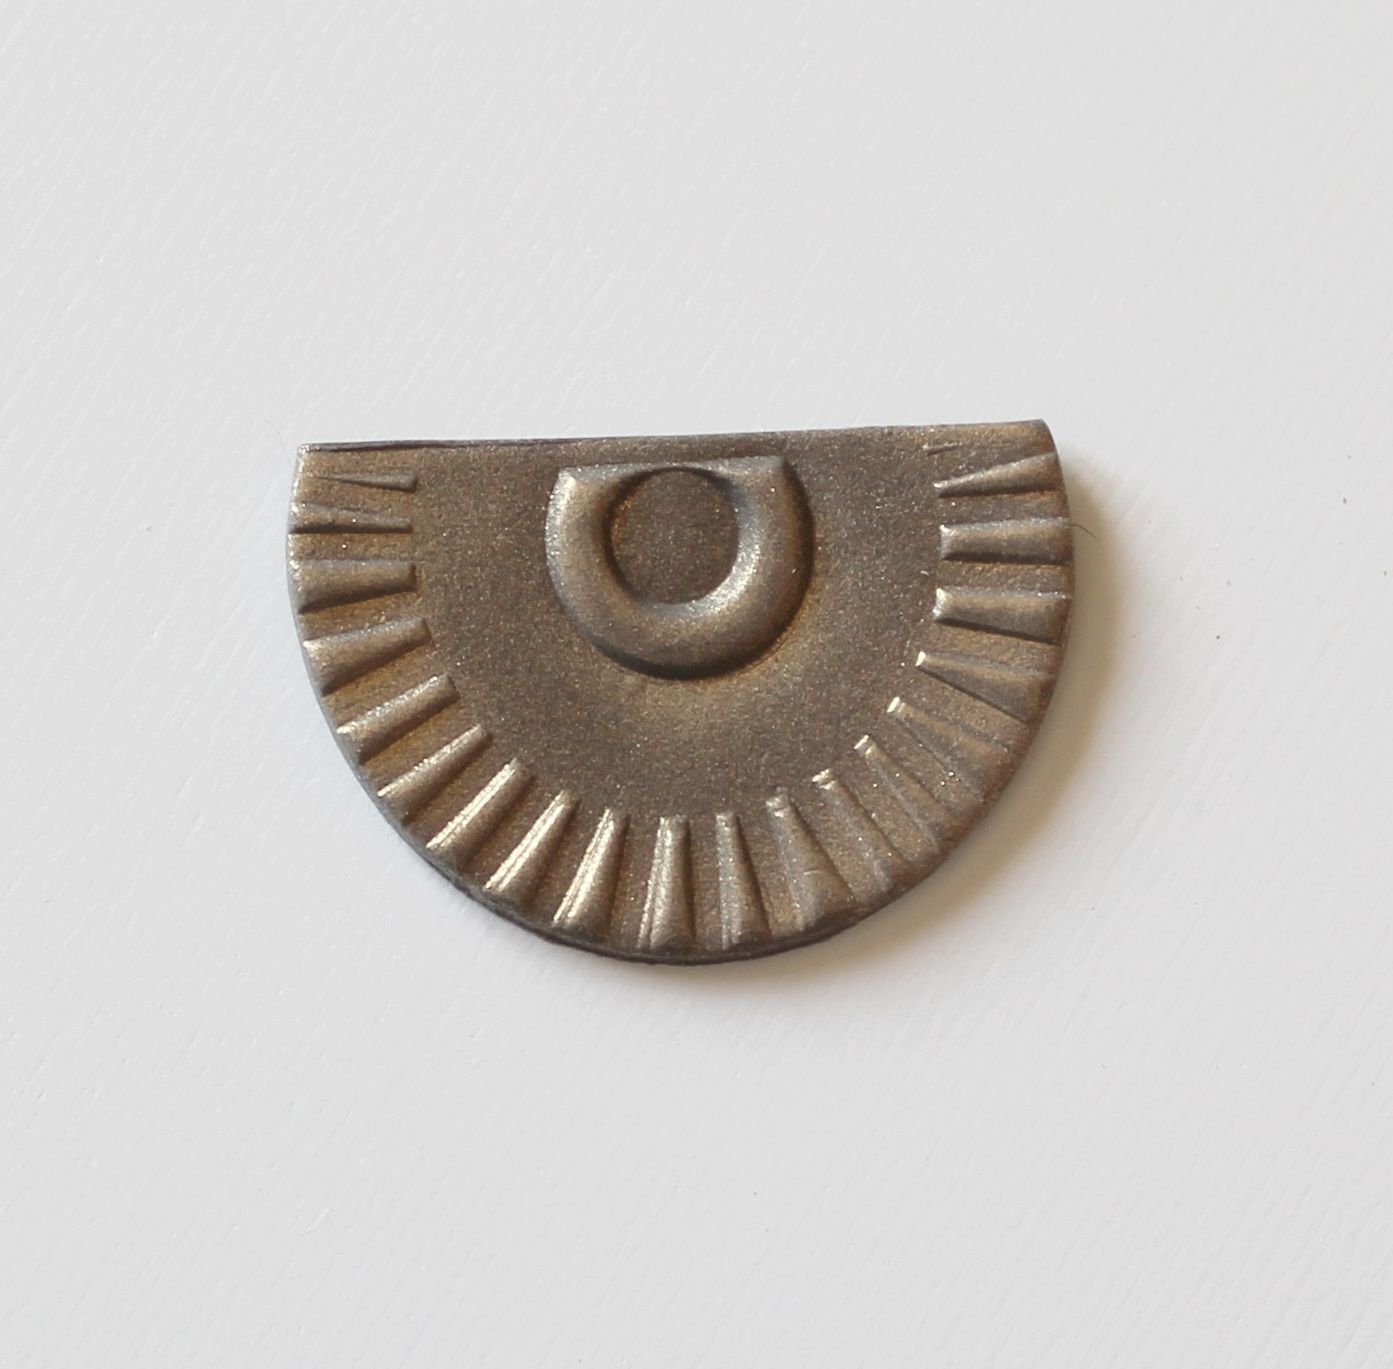
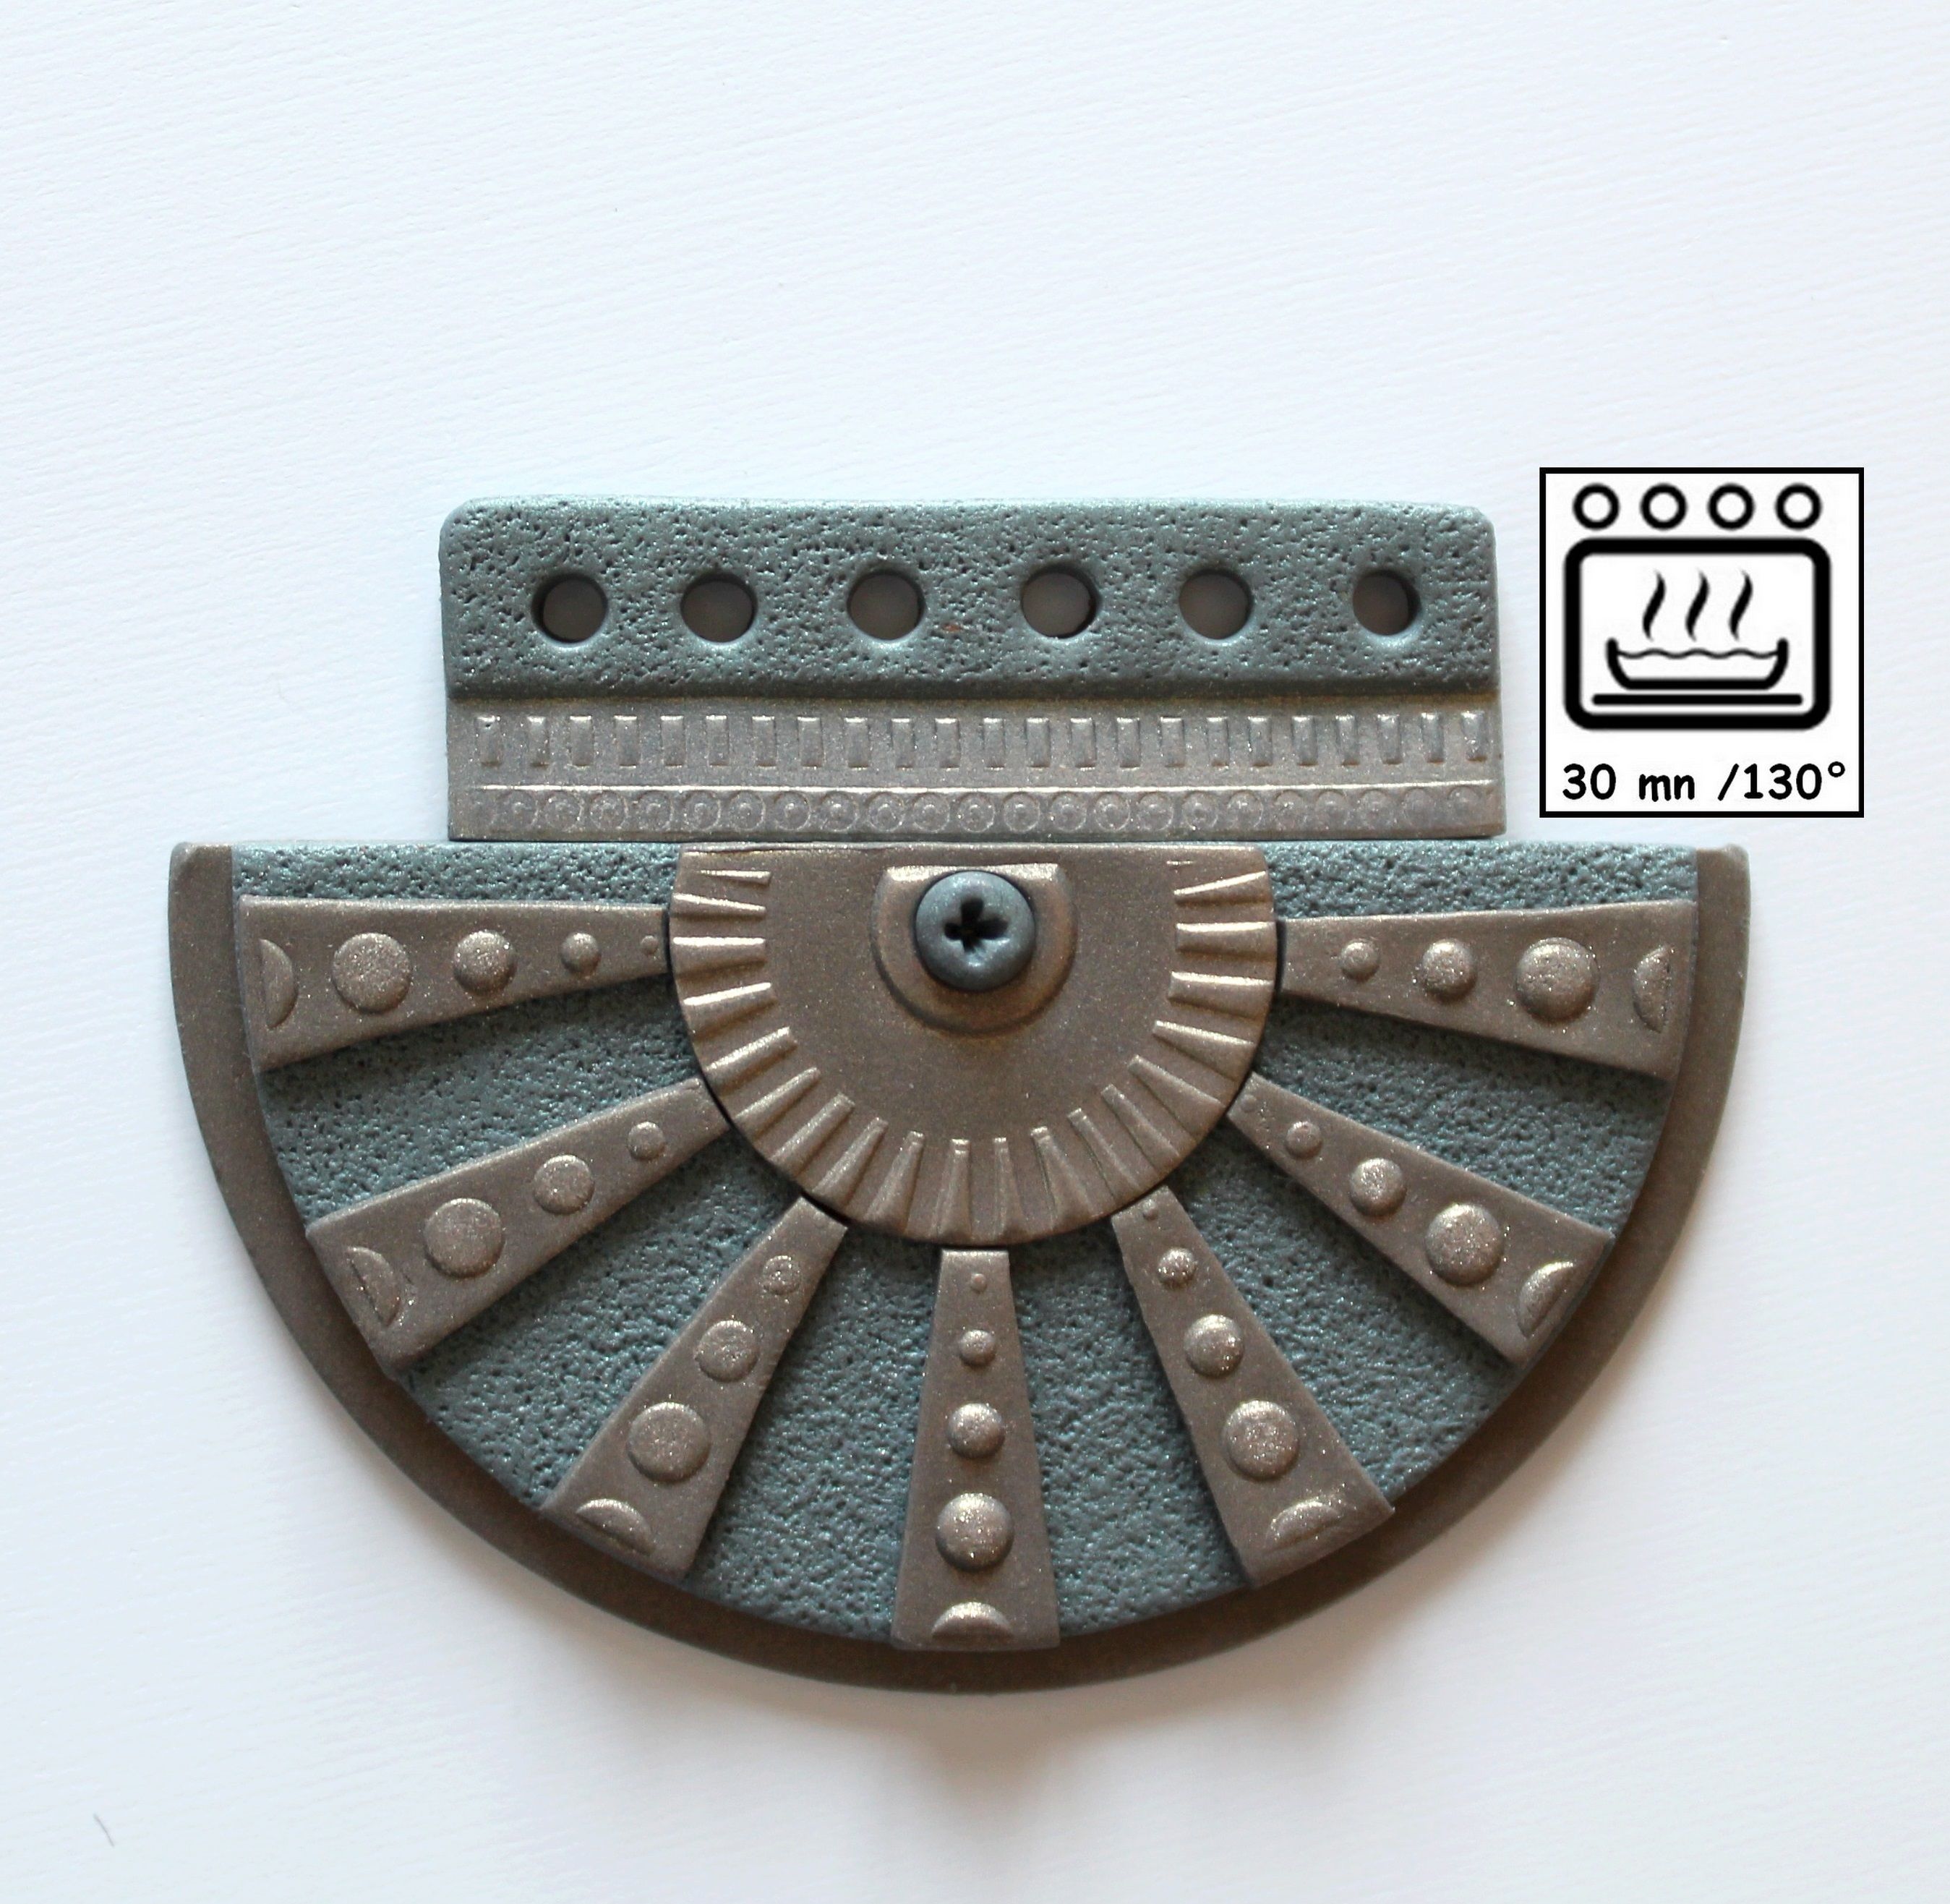
Cut out the pattern in a semicircle and give it a shiny appearance thanks to the Cernit Sparkling Gold Interferent. The rendering is subtle but nevertheless very pretty!
Also, use a screwdriver, lightly squeezed into a green duck Cernit Shiny pellet to make it look like a screw. Do not hesitate to use all the material at your disposal and divert their use for even more possibilities with Cernit!
Create other decorative elements using the shapes of the Geometrics texture plate. Cut out these shapes using rigid Cernit blades.
Use the Cernit Sparkling Gold interference or texture the smooth Cernit elements with the material previously used for the plates.
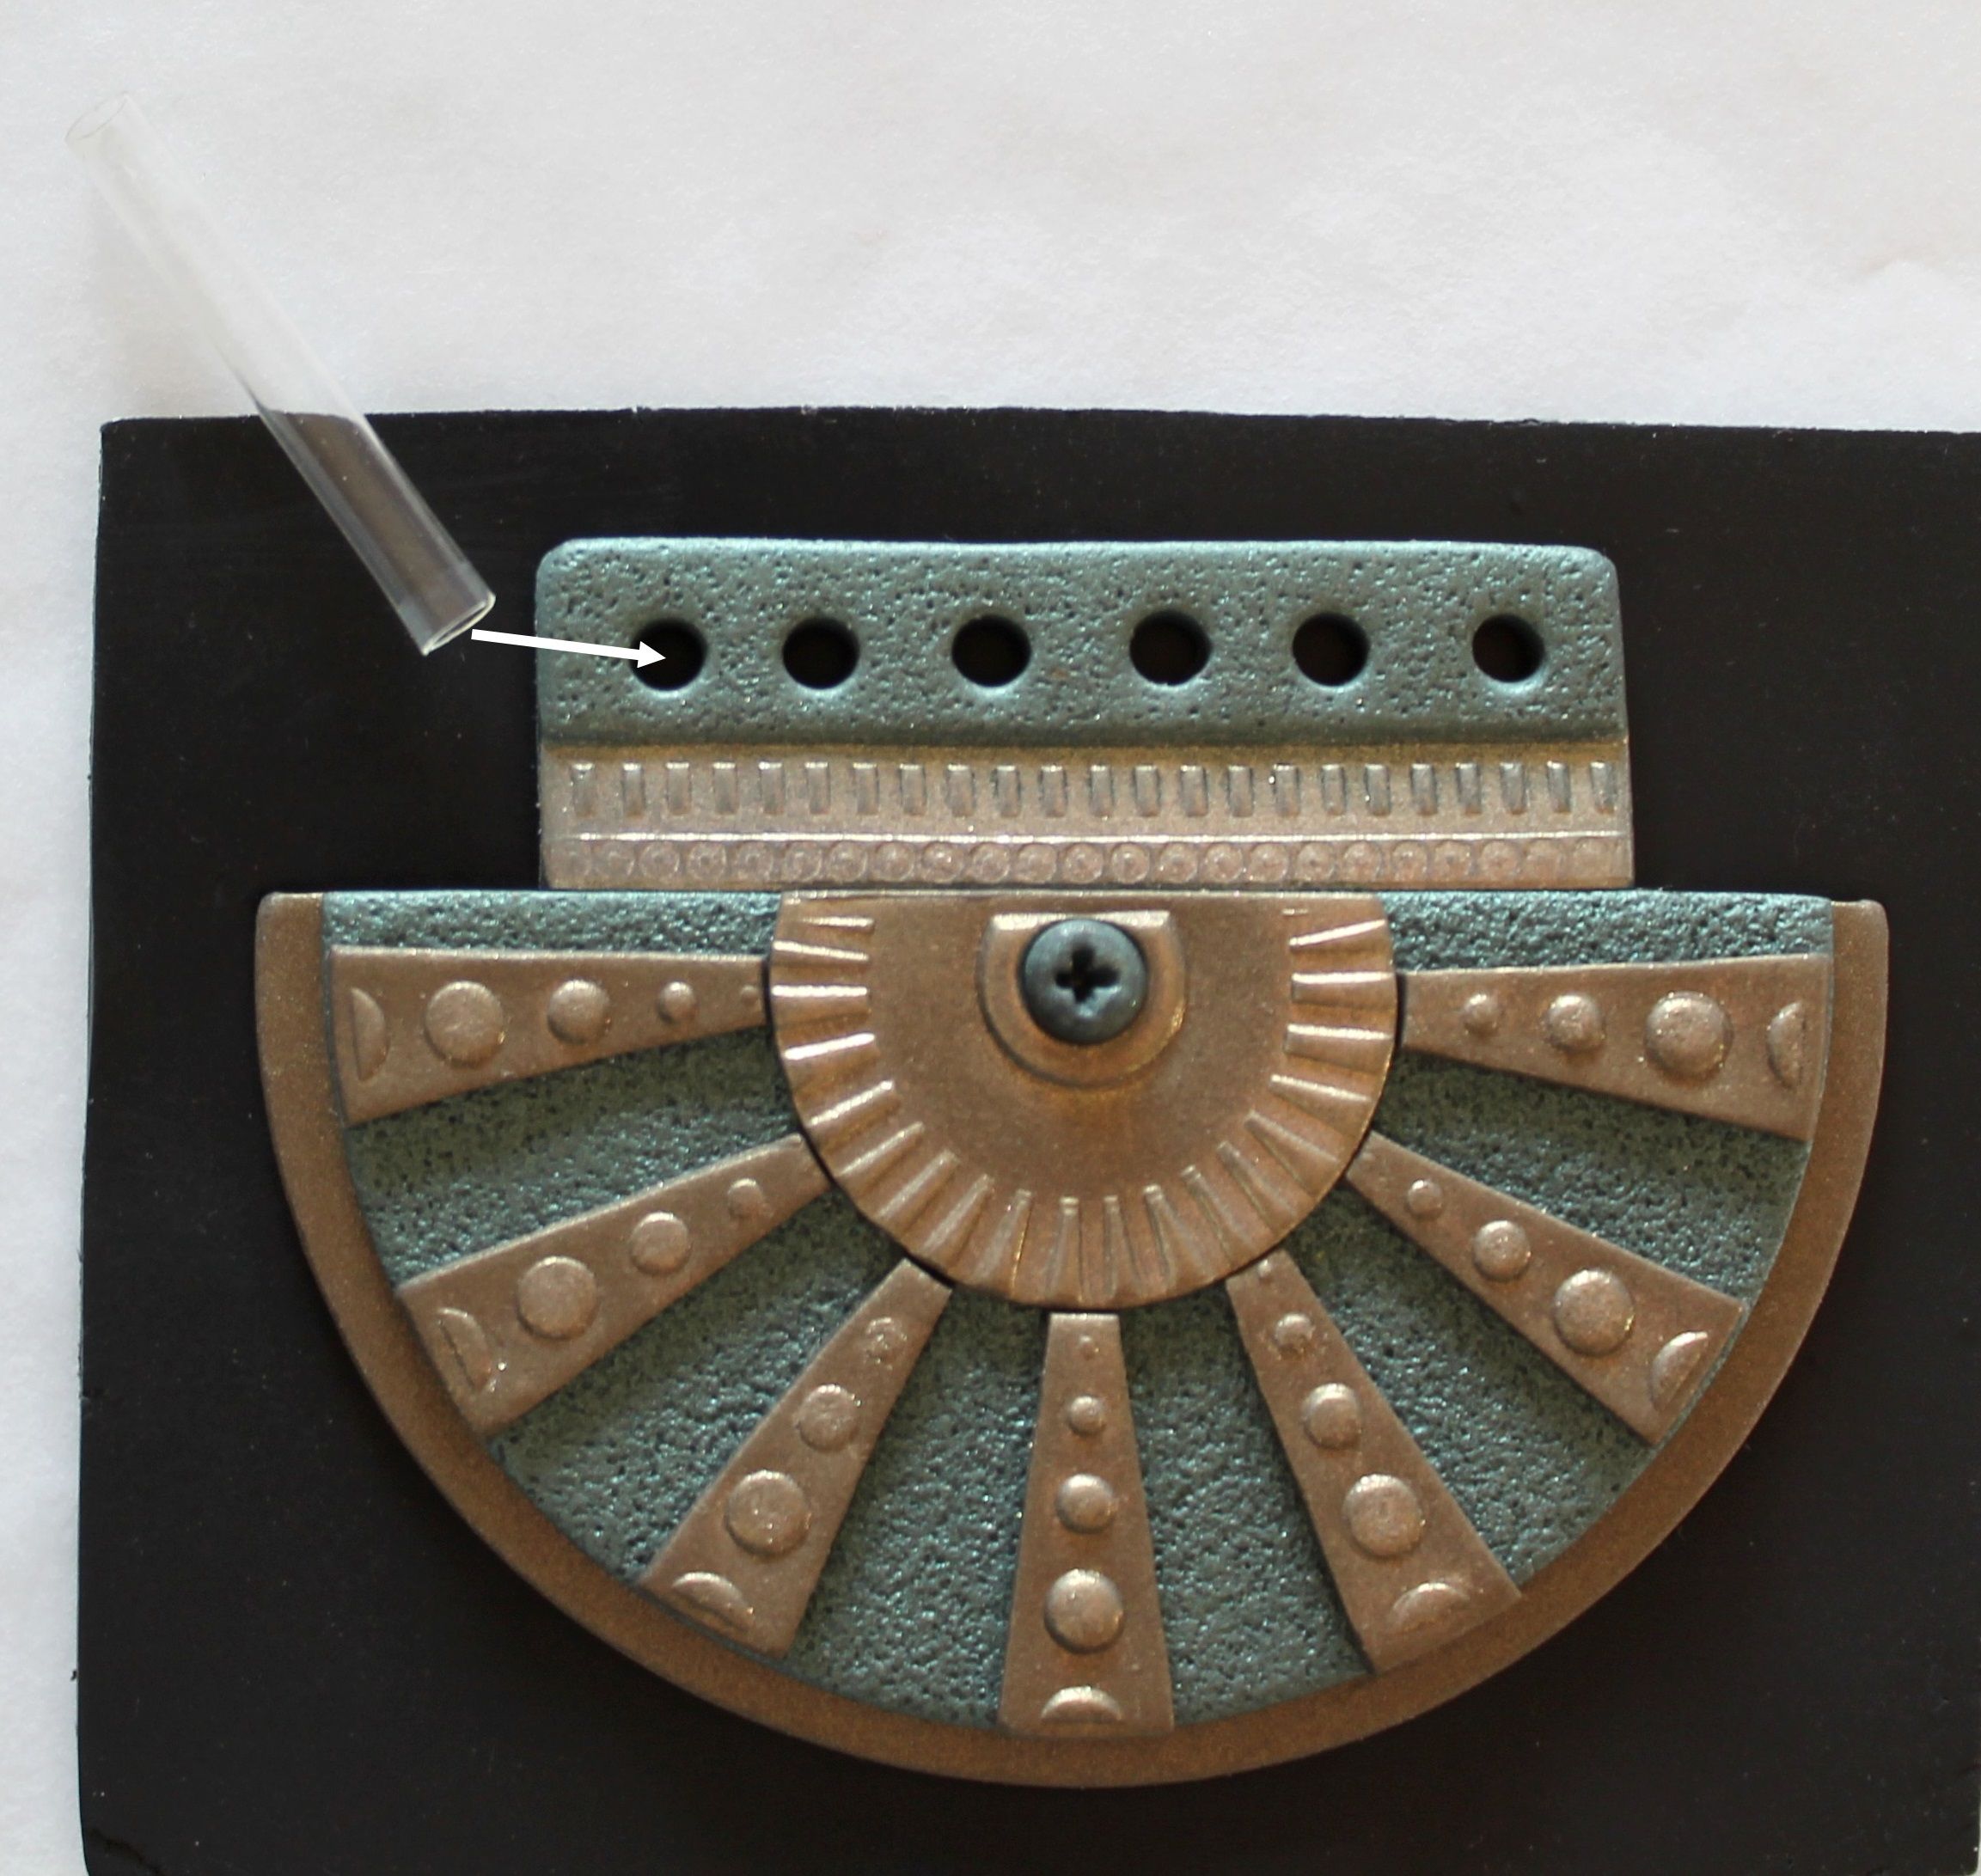
Assemble the elements. On a pre-textured black Cernit Number One sheet, drop the pendant and cut along the edges. It is now time to bake the realization 30 minutes at 130 ° C!
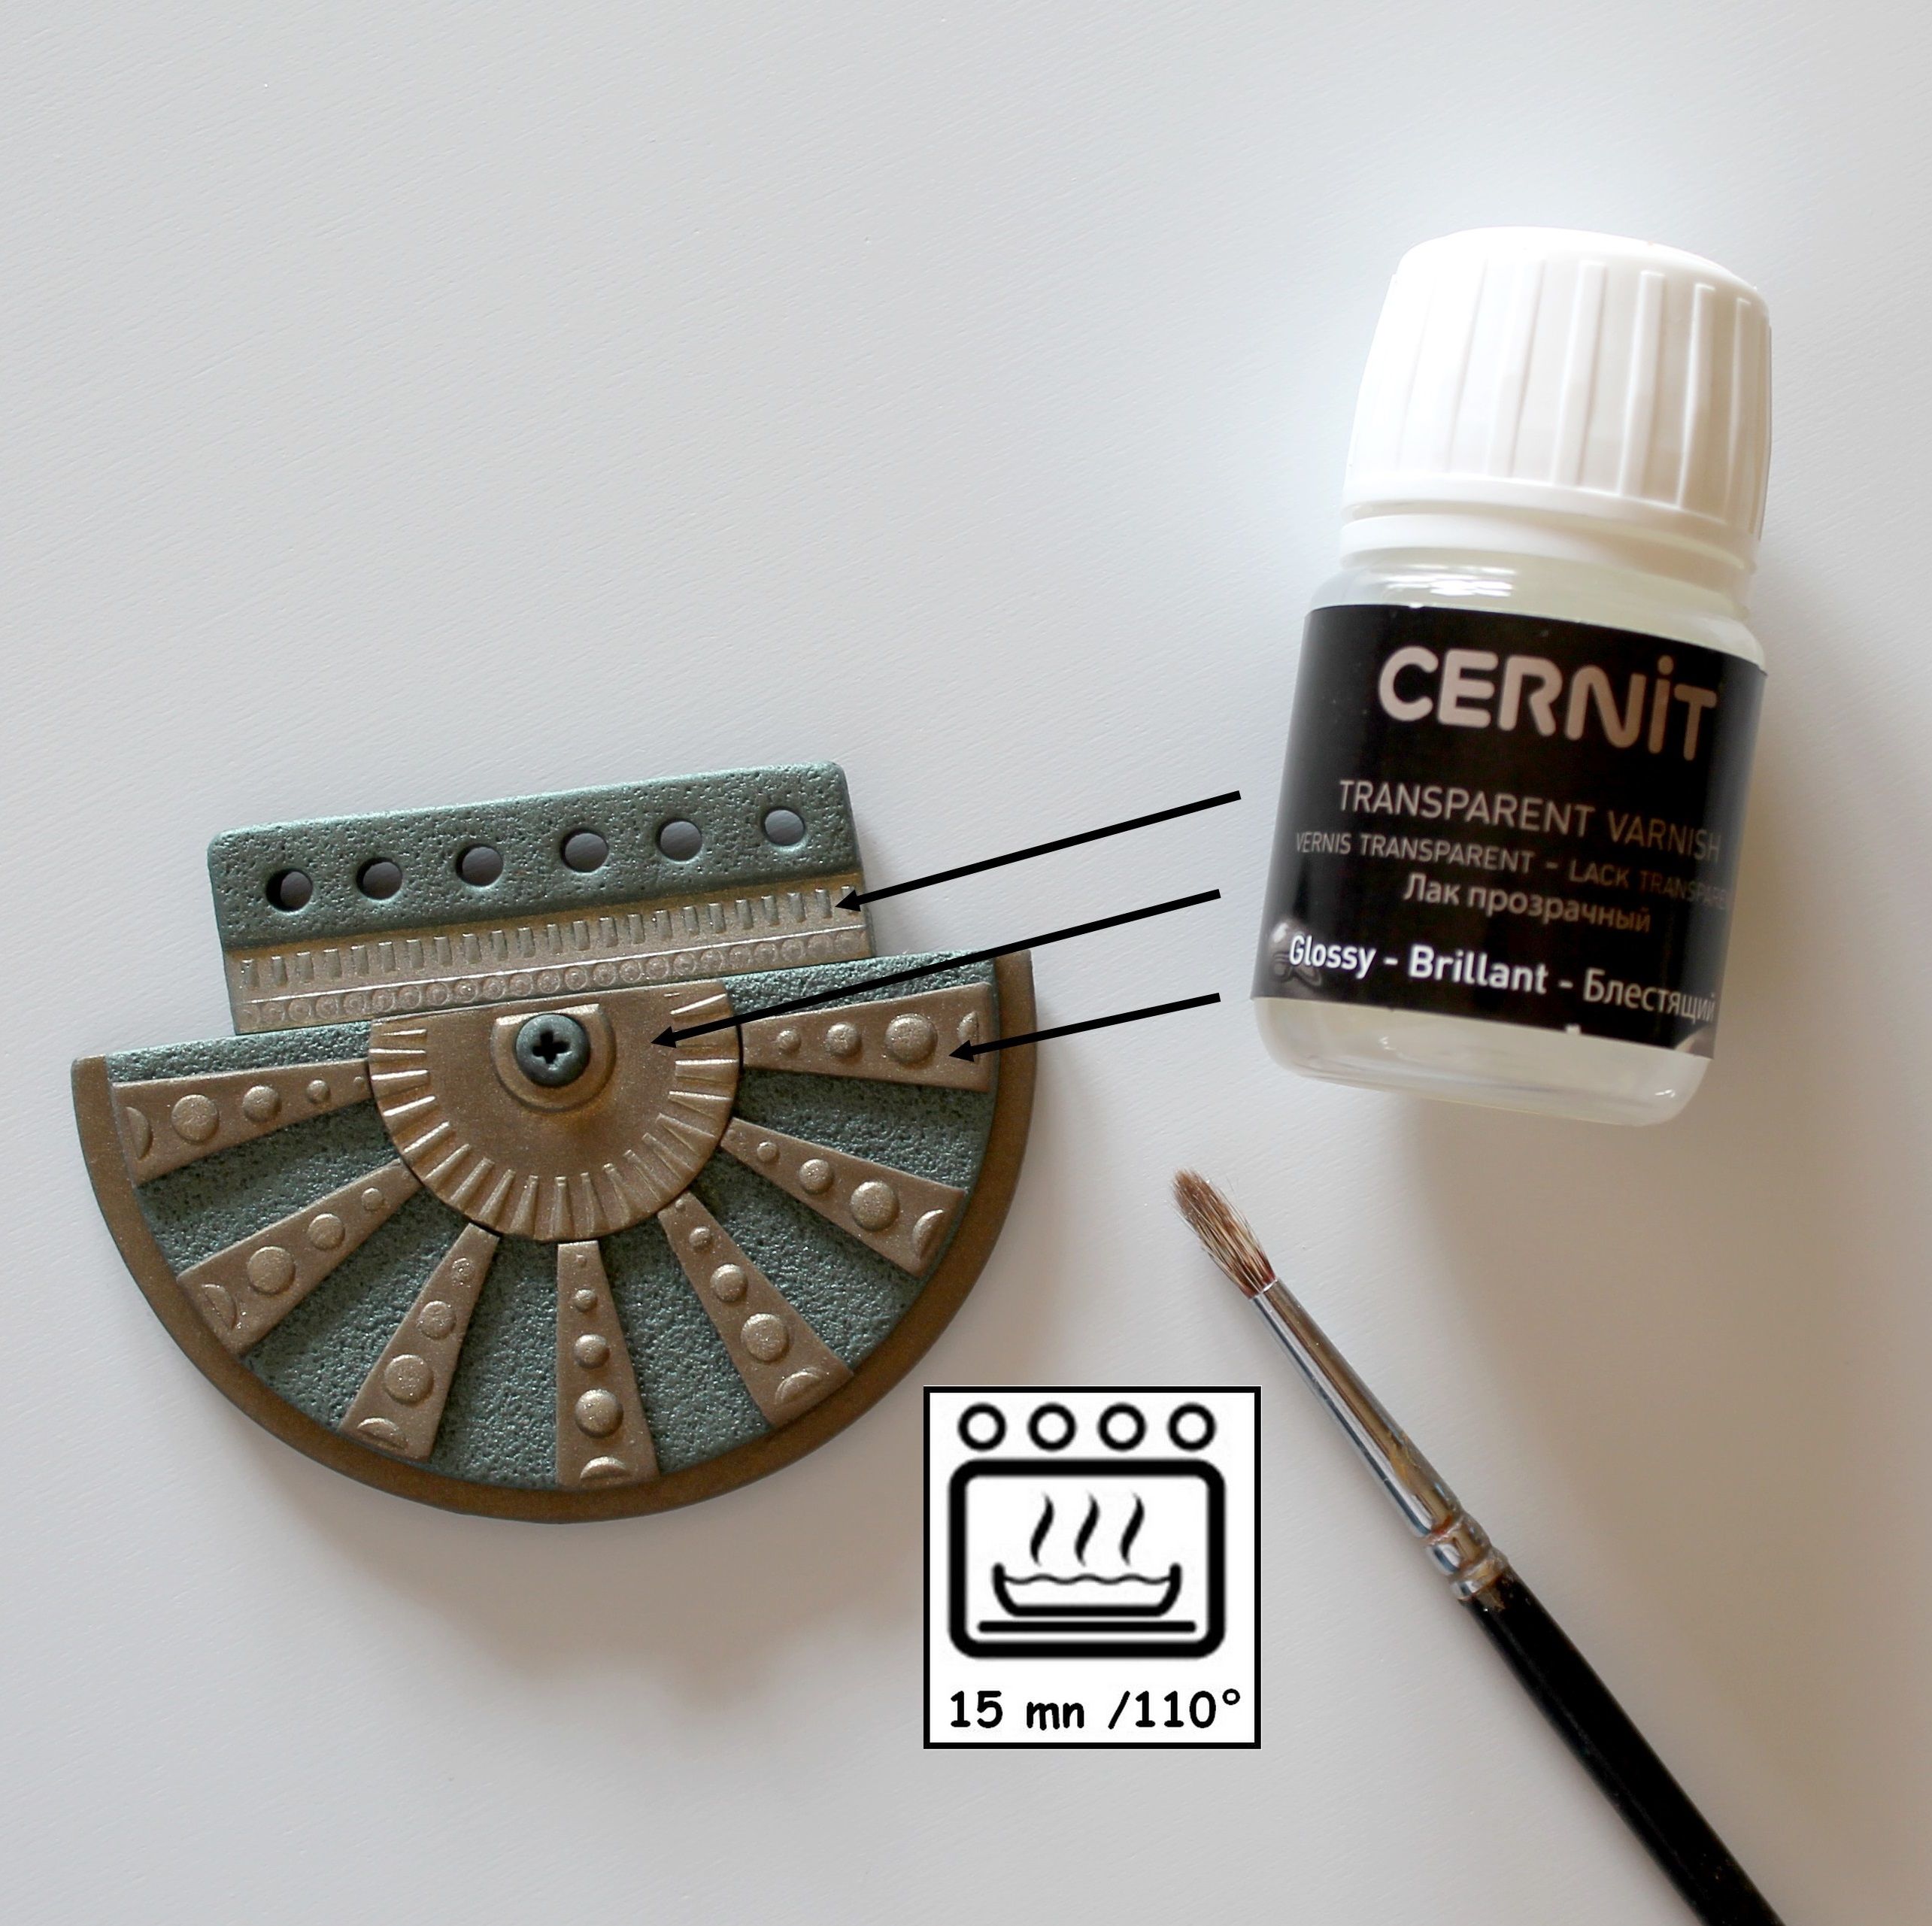
Once the pendant is baked and solid, use the varnish to protect it. Be careful, the Cernit varnish should be baked for 15 minutes at 110 ° C.
Your pendant is now ready to be mounted on a necklace.
Thanks to Ghislaine Petitgas (Ghia) for having made this tutorial step by step for the greatest happiness of lovers of Cernit!
The Cernit blog : http://cernit.canalblog.com/

Produits liés
-

Cernit Varnish
For your creations with Cernit polymer clay, use the appropriate varnish from the same brand ! This water-based varnish has to be baked to be able to protect your figurines, jewellery or other creations from any scratches or hits.
-

Cernit Sparkling
The Cernit Sparkling mica powders are there to put stars in your eyes! 4 ranges: metallic,diamond, interfering, two-tone effects ... These powders will enhance your creations in clear or dark Cernit polymer and give them a shiny reflects!
-

Cernit Inox roller
As you start with polymer clay, you will need a roll! To smooth, spread or embed textures in the clay, it's the perfect partner. Stainless steel is very resistant and does not stick to the clay.
-

Cernit Slicers set
Essential to start your modelling, Cernit blades are very thin and sharp. You will definitely be delighted with them from your beginning in polymer clay. They cut preciselye no matter the techniques you want to achieve (Millefiori, Kaleidoscope, Mokume Gane, Mica shift ...)
-

Cernit texture plates - Freestyle
A wide range of patterns is possible with all our Cernit texture plates! Very easy to use yet with a complex result. This multiplies your possibilities of achievements especially for jewels and decorative objects!
-

Cernit texture plates - Moments
A wide range of patterns is possible with all our Cernit texture plates! Very easy to use yet with a complex result. This multiplies your possibilities of achievements especially for jewels and decorative objects!
-

Cernit texture plates - Flowers
A wide range of patterns is possible with all our Cernit texture plates! Very easy to use yet with a complex result. This multiplies your possibilities of achievements especially for jewels and decorative objects!
-

Cernit texture plates - Paisley
A wide range of patterns is possible with all our Cernit texture plates! Very easy to use yet with a complex result. This multiplies your possibilities of achievements especially for jewels and decorative objects!
-

Cernit texture plates - Bubbles
A wide range of patterns is possible with all our Cernit texture plates! Very easy to use yet with a complex result. This multiplies your possibilities of achievements especially for jewels and decorative objects!
-

Cernit texture plates - Spirals
A wide range of patterns is possible with all our Cernit texture plates! Very easy to use yet with a complex result. This multiplies your possibilities of achievements especially for jewels and decorative objects!
-

Cernit texture plates - Hearts
A wide range of patterns is possible with all our Cernit texture plates! Very easy to use yet with a complex result. This multiplies your possibilities of achievements especially for jewels and decorative objects!
-

Cernit texture plates - Blossoms
A wide range of patterns is possible with all our Cernit texture plates! Very easy to use yet with a complex result. This multiplies your possibilities of achievements especially for jewels and decorative objects!
-

Cernit texture plates - Stars
A wide range of patterns is possible with all our Cernit texture plates! Very easy to use yet with a complex result. This multiplies your possibilities of achievements especially for jewels and decorative objects!
-

Cernit texture plates - Harmony
A wide range of patterns is possible with all our Cernit texture plates! Very easy to use yet with a complex result. This multiplies your possibilities of achievements especially for jewels and decorative objects!
-

Cernit texture plates - Geometrics
A wide range of patterns is possible with all our Cernit texture plates! Very easy to use yet with a complex result. This multiplies your possibilities of achievements especially for jewels and decorative objects!
-

Cernit texture plates - Nature
A wide range of patterns is possible with all our Cernit texture plates! Very easy to use yet with a complex result. This multiplies your possibilities of achievements especially for jewels and decorative objects!
-

Cernit texture plates - Under the sea
A wide range of patterns is possible with all our Cernit texture plates! Very easy to use yet with a complex result. This multiplies your possibilities of achievements especially for jewels and decorative objects!
-

Cernit texture plates - Leaves
A wide range of patterns is possible with all our Cernit texture plates! Very easy to use yet with a complex result. This multiplies your possibilities of achievements especially for jewels and decorative objects!
-

Cernit texture plates - Celtic Knot
A wide range of patterns is possible with all our Cernit texture plates! Very easy to use yet with a complex result. This multiplies your possibilities of achievements especially for jewels and decorative objects!
-

Cernit texture plates - Sports
A wide range of patterns is possible with all our Cernit texture plates! Very easy to use yet with a complex result. This multiplies your possibilities of achievements especially for jewels and decorative objects!
-

Cernit texture plates - Mandala
A wide range of patterns is possible with all our Cernit texture plates! Very easy to use yet with a complex result. This multiplies your possibilities of achievements especially for jewels and decorative objects!
-

Cernit texture plates - Constellation
A wide range of patterns is possible with all our Cernit texture plates! Very easy to use yet with a complex result. This multiplies your possibilities of achievements especially for jewels and decorative objects!
-

Cernit texture plates - Contemporary Clovers
A wide range of patterns is possible with all our Cernit texture plates! Very easy to use yet with a complex result. This multiplies your possibilities of achievements especially for jewels and decorative objects!
-

Cernit texture plates - Pop Curtain
A wide range of patterns is possible with all our Cernit texture plates! Very easy to use yet with a complex result. This multiplies your possibilities of achievements especially for jewels and decorative objects!
The Clay & Paint Factory | VAT 0668.484.210 | Legal Notice & Contact
General Conditions
This internet site uses cookies to improve the users experience. Terms of use of website and protection of personal data.
© Copyright 2025 - E-net Business, creator of e-commerce websites for businesses, self-employed, & SMB